Hello Everyone,
A couple of weeks ago I was trecking through my favorite haunt and came across this….
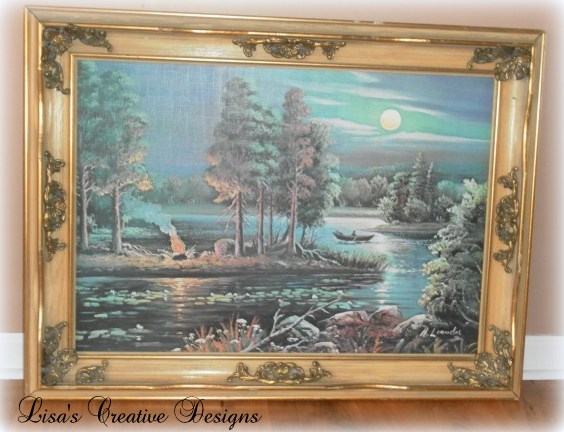
It wasn’t the painting that caught my eye. The frame did. I loved the detail on it and knew right away it would look great after a makeover. Considering it’s size I thought the $12 price was a pretty good deal. My first thought was to turn it into a bulletin board for my daughter’s room.
I brought it home, plopped it in the garage and there it sat for a few days. Then one day I was sitting on my couch staring at my walls when a lightbulb went off.
I found this great bird inspired canavas print last year when I was doing a Simple Staging Project on a vacant property.
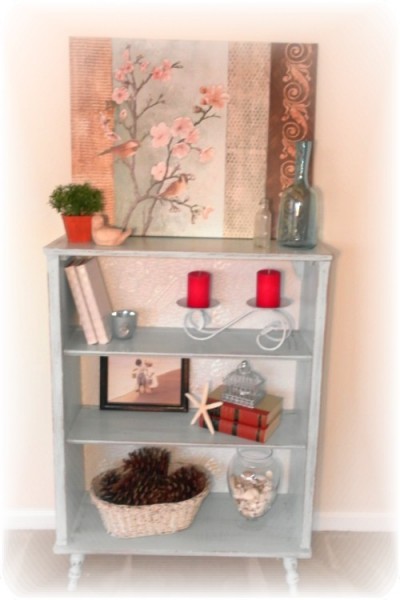
I liked it so much that when it was time to tear down the staging props I brought the print home and hung it in my living room.
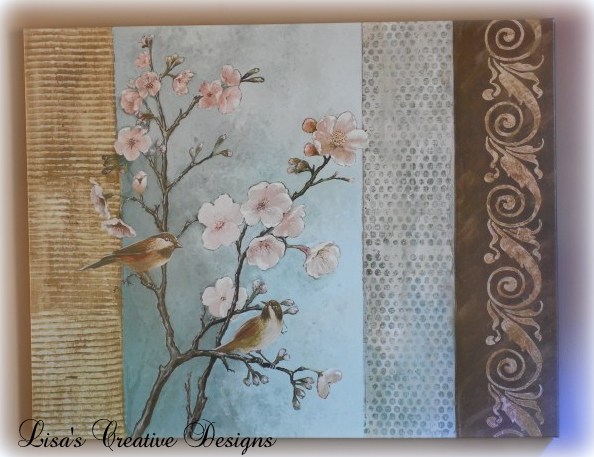
The colors were perfect for the space and it inspired the bird theme I now have in the room. One thing irked me though. It needed something. I thought a new frame may make it more substantial and planned on building one when I got a chance.
As I said before, I was sittinig on my couch, looking at the print when a lightbulb went off. Hmmm, I wonder if it would fit in the new frame. I took some measurements and got excited when I realized it would indeed fit after I made a few adjustments.
I removed the not so lovely artwork from the frame. I dismantled the canvas print from the inner wood frame that held it together. I recycled the painting by adhering the print to it with spray adhesive. I had to trim off some of the edges to make the image fit.
Then I turned my focus to the frame and painted it a crisp white. The original gold color just was not working for me.
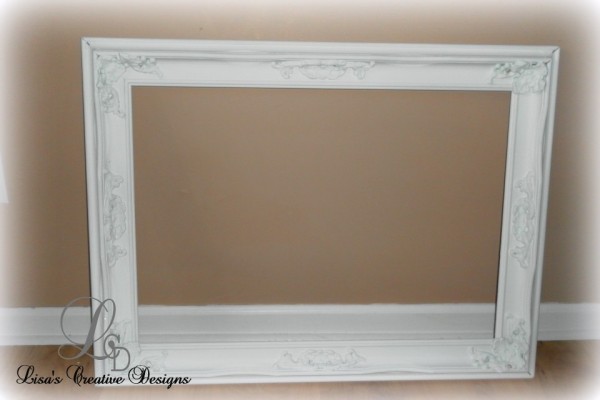
To bring out the details of the frame I gave it a colorwash treatment. I created a color wash with some brown acrylic craft paint thinned with water. I started by brushing the colorwash onto a small area, getting it in all the nooks and crannies…
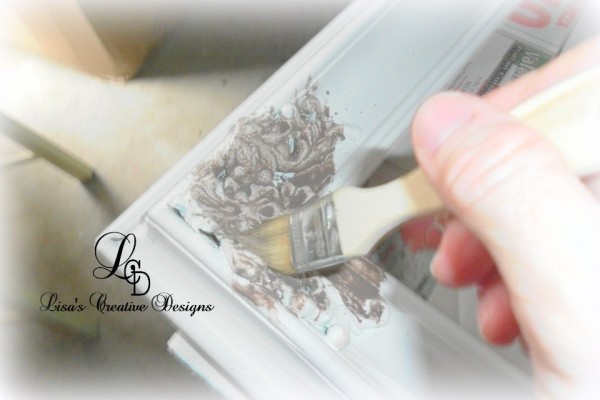
and quickly wiped off the excess before it had a chance to dry.
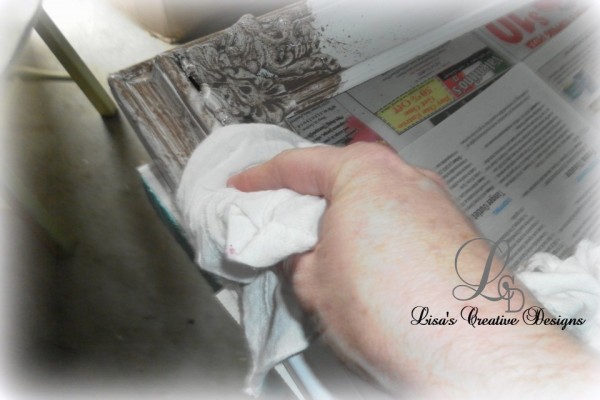
This technique allows you to highlight the details of a piece as well as giving it an aged look.
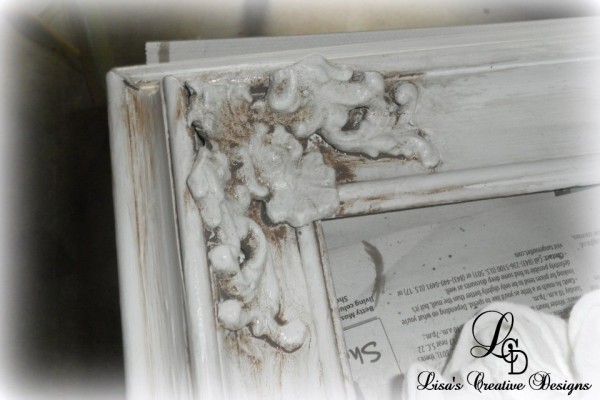
I continued the process, working in small sections all around the frame.
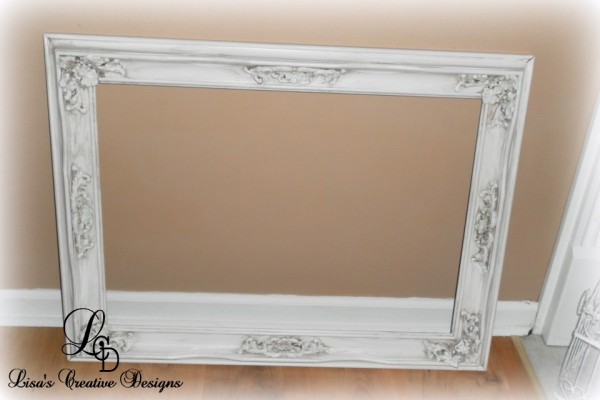
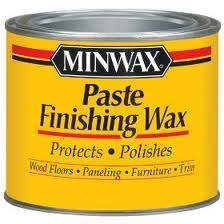
After the colorwash dried I rubbed on some Minwax Paste Wax to give it a soft sheen and to protect the paint. I use this stuff on most of my painted pieces. I love the finish it gives to a piece. Soft, Subtle and Smooth.
Once dry, I gave it a buffing with a soft cloth and popped in the print.
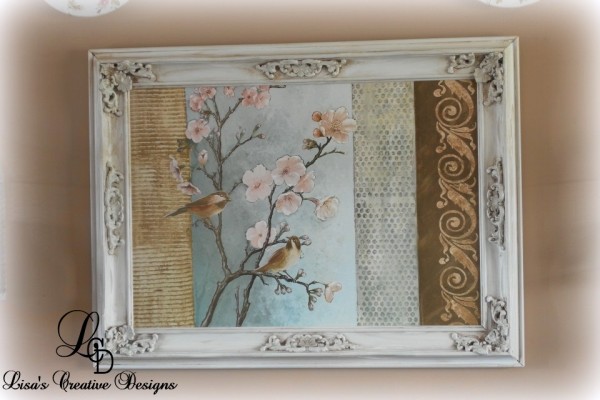
Ahhh, THAT’S THE TICKET! I am very happy with the new look.
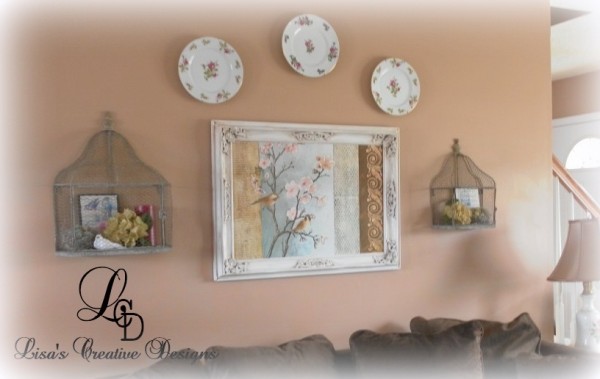
I hung it above the sofa, right in between my two decorative birdcages I purchased a few months ago from Through The Country Door. I love the look. What do you think? You can easily so your own thrift store frame makeover using the same process.
Thanks for visiting and have a wonderful day!
~Lisa
I would love to have you join me on my design adventures!
Linking Today TO:
Its So Very Cheri Blog Party
White Wednesday





Jorja
First off I want to say excellent blog! I had a quick
question that I’d like to ask if you don’t mind. I was curious to
find out how you center yourself and clear your thoughts prior to writing.
I have had a tough time clearing my thoughts in getting my thoughts
out. I do enjoy writing however it just seems like the first 10 to 15 minutes tend
to be wasted just trying to figure out how to begin.
Any recommendations or hints? Many thanks!
Lisa Hogan
Hi Jorja,
I usually try to write when my kids and hubby are still at school and work. Once I figure out what project or subject I want to write about, which can sometimes take a day or two, it all starts to flow naturally when I sit to write. I do usually post my pictures first then go in and start writing. Start out with a plan in your mind ahead of time, pick a quiet time and place and let nature take it’s course. Start out with the main points you want to make and then work around them. You can always go in and edit before you hit publish! Thanks so much for visiting my blog and the sweet comments!