Hi All,
The past few days it has felt like fall here in eastern North Carolina. I have had the pleasure of having the windows open because the temps have been in the upper 70’s to low 80’s, dipping into the low 60’s at night. We have woken up to a nice crispness in the air and I am loving it. Autumn is my favorite time of year hands down. One thing I miss from living up north is the fall foliage. We really don’t get much of that here on the coast. We are surrounded by a lot of pine trees.
Today I am excited to share with you my master bathroom redesign. Being that no one really sees my master bath but myself, my kids and my hubby, redesigning it was put on the back burner for quite a long time. I hadn’t done much to since I slapped up a few decor items when we moved in 7 and a half years ago. I was tired of looking at it. It really looked tired, sad and well, B-A-D.
I took a ton of pictures so I threw together a little slide show for you. Let’s take a tour of my “Shabby to Chic” Master Bathroom Transformation, shall we? Just click on the arrow to advance to the next photo.
Everyone ready? Here we go…
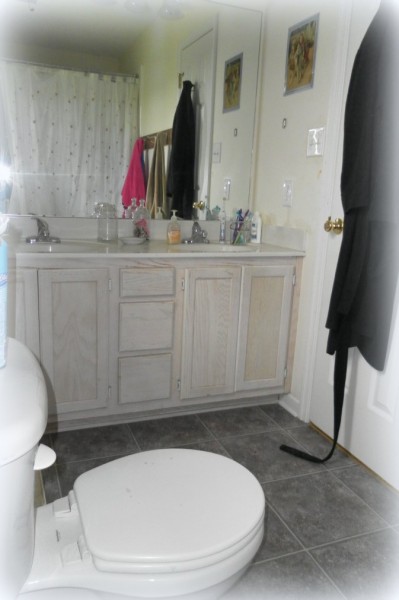
A Boring Old Bathroom
My master bathroom was neglected for years and was in need of a facelift. From the decor colorless walls to the boring decor, my bathroom needed help. It was not a room I wanted to spend much time in. The space just had no life to it. No pizazz.
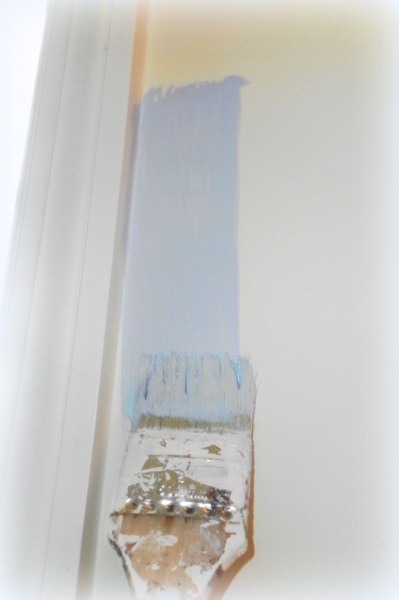
Begin With Paint
The transformation began with a fresh coat paint. Paint is the easiest and most inexpensive way to transform a space.
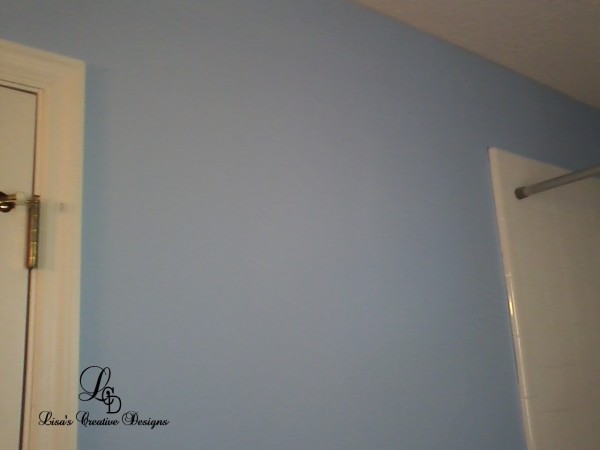
From BLAH to Soothing Blue
I painted the walls Olympic Paint’s Spa Blue. It is such a nice, relaxing color that pops against the white trim and accessories in the room.
From Shabby to Chic
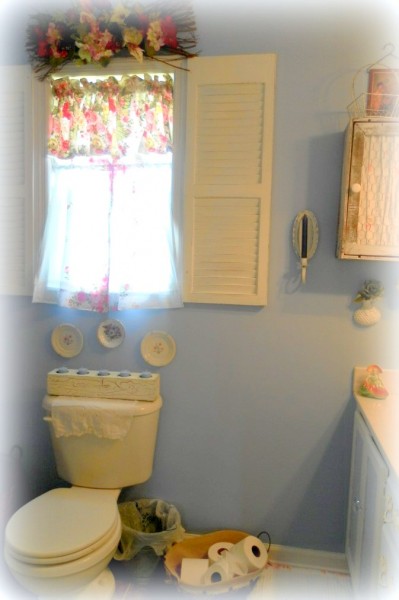
I gave the old window shutters I found while dumpster diving a few years ago a fresh coat of white paint with a little distressing. I added new curtains and a few decorative touches to complete the look.
Storage Necessities
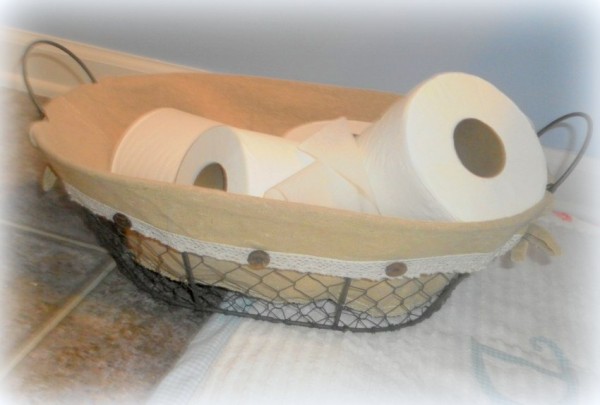
This basket was a Home Goods find. For $12.00, it is an attractive storage solution for must haves. My puppy thought it held a bunch of new chew toys for her. Needless to say it now holds magazines.
A New Window Treatment
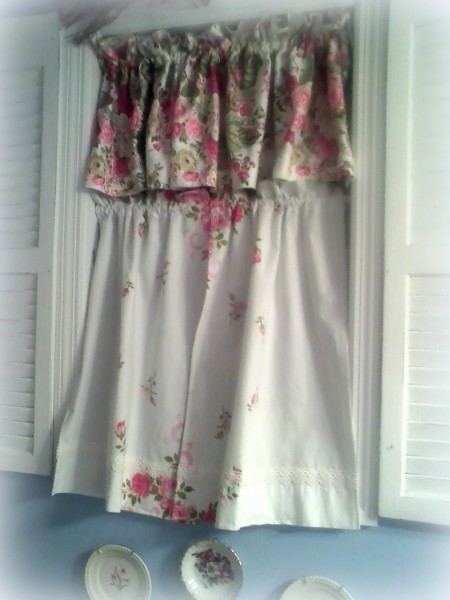
I bought the floral curtain valance at a thrift shop awhile back and had it stashed in a closet. I loved the colors and the large floral pattern. I originally thought I would make something out of the old valance like a pillow or pot holders but now I am glad I didn’t. I created the bottom curtains out of a vintage pillow case and some lace I had on hand.
A Touch Of Romance
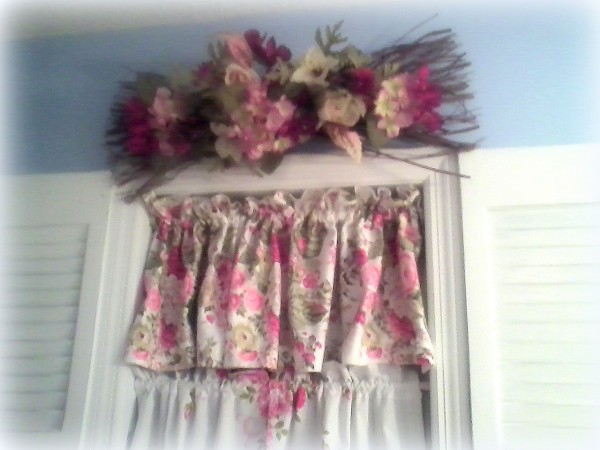
The floral swag above the window is sentimental. It once adorned an arbor my husband and I stood in front of when we renewed our wedding vows (for our 15th wedding anniversary) in 2009. The colors work wonderfully, complimenting the curtains.
Decorating With Plates
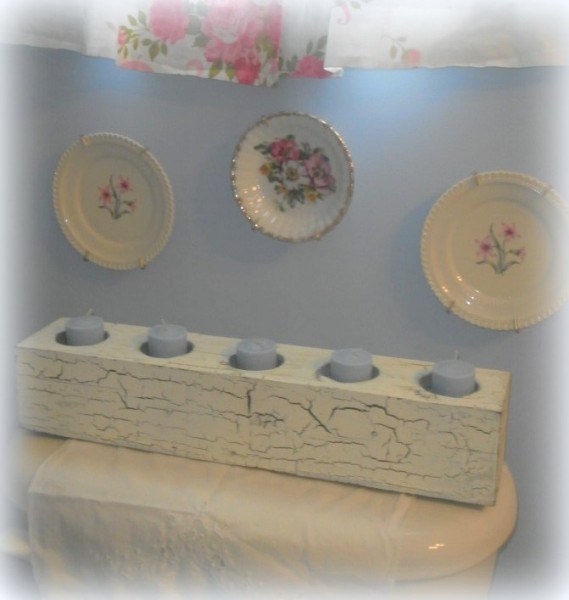
I found these vintage plates at a thrift shop. They fit perfectly under the window. Decorating with plates is a budget friendly way to fill empty space on a wall. They look great too!
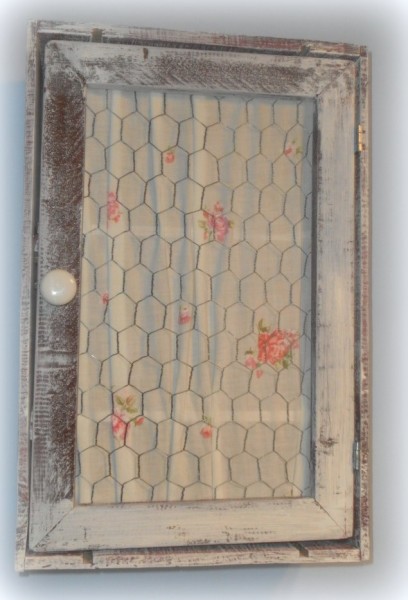
An Upcycled Medicine Cabinet
This is my new medicine cabinet. I created it out of an old wooden crate. I added a few shelves and made a door out of 1″X2″ wood strips, vintage fabric and chicken wire.
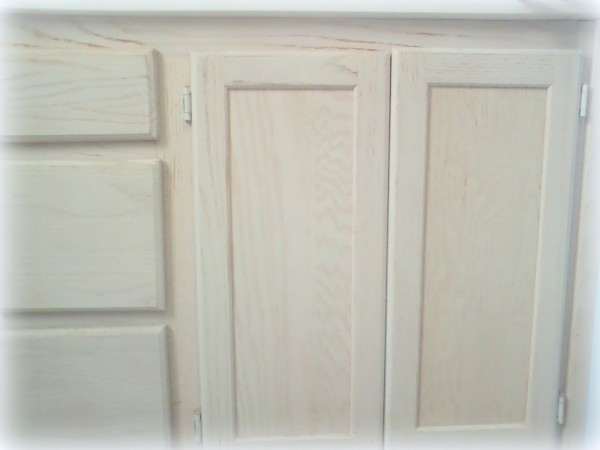
Common Cabinetry
The cabinet doors were just blah and boring. I knew just what it needed….
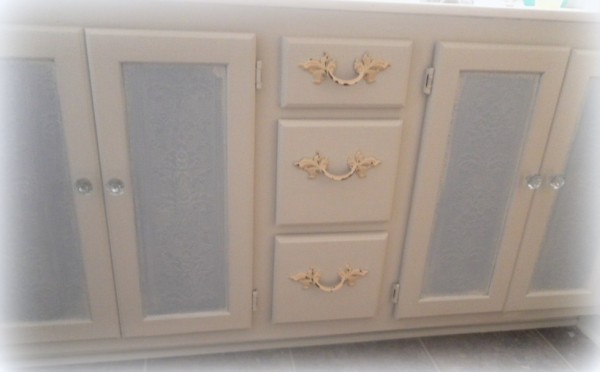
A Charming Cabinet Redesign
With some new paint, embossed wallpaper and new hardware this cabinet is so shabby sweet!
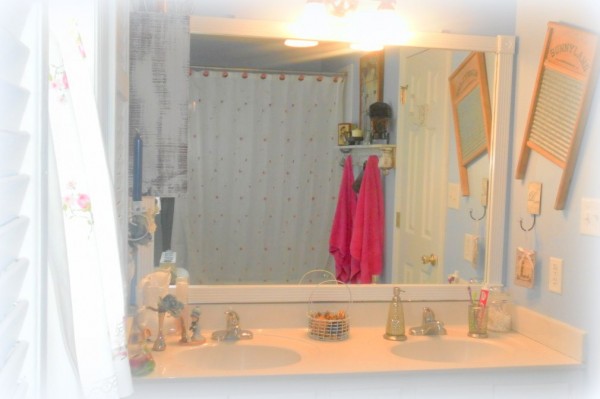
Dressing Up A Boring Mirror
I spruced up the mirror above the sink with some new molding attached with adhesive. The whole project cost around $20.
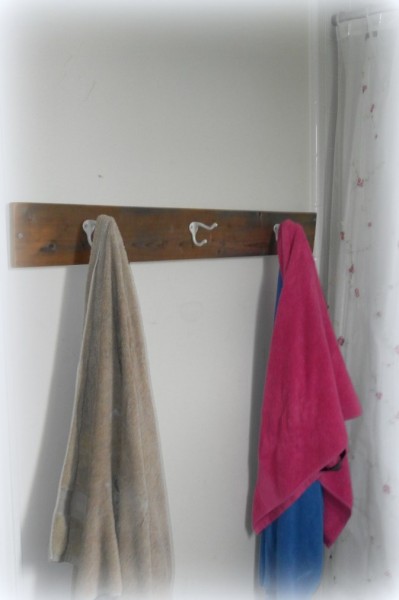
A Poor Excuse For A Towel Rack
This pretty UNattractive towel rack HAD to go. I knew I could come up with something better.
A Unique Towel Rack
I had an old weathered board stashed away in my garage that I picked up at my favorite salvage store. I cut it to size, added a board to the top and used old finnials to brace it, creating an attractive place to hang towels and display some pretties.
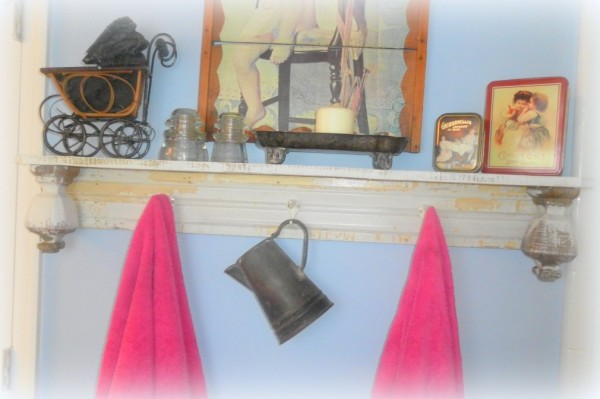
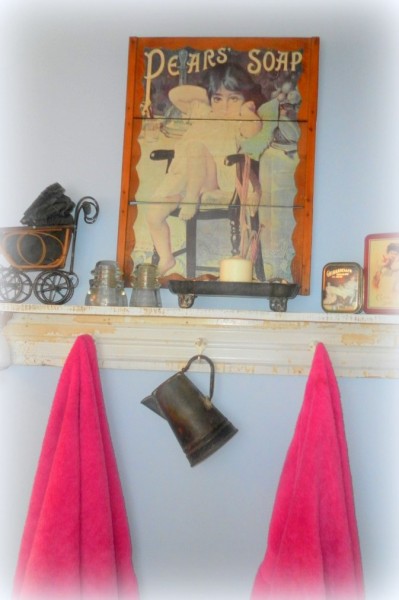
Flea Market Chic
I had an old weathered board stashed away in my garage that I picked up at my favorite salvage store. I cut it to size, added a board to the top and used old finnials to brace it, creating an attractive place to hang towels and display some pretties.
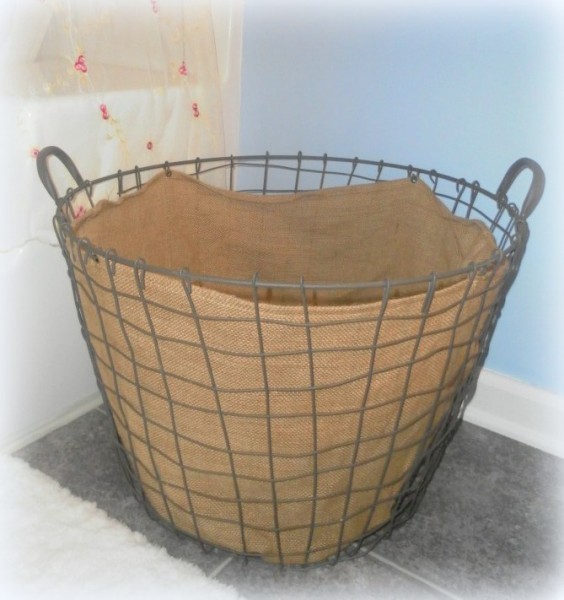
For The Love Of Burlap
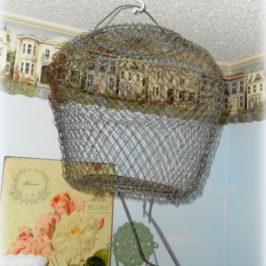
A $20 wire basket lined with burlap acts as a lovely hamper.
A Cozy Cottage Style Master Bathroom
From boring and blah to comfortable, cute and cozy, this bathroom has gone under quite a transformation. I am all too happy to go in there now.
Soooo, what do you think? I am really happy with the results. My favorite piece in the room is the upcycled wood shelf/towel rack. I literally just “threw” it together. Aren’t unexpected surprises great?!
Well, thanks so much for visiting today and touring my little master bathroom! I will be sharing a few “How-To” tutorials on some of the projects shown here in upcoming posts. Stay tuned!
Have a wonderful weekend!
~Lisa
[signoff] Linking to these great parties….Frugal Friday





dean
really looks great! awesome job. Someone needs to hire you and give you a show on HGTV
Cheryl
Lisa, I so love recieving your e-mails each week. You are a very talented person and have such a great eye for creativity. I love your bathroom, just about everything in it is so refreshing. I especially love the paint color, medicine cabinet, plates, vanity knobs and soap dispenser. Oh alright I love all of it! Keep up the great work.