A Creative Solution To Updating Bathroom Cabinetry…Cottage Style
Hi All,
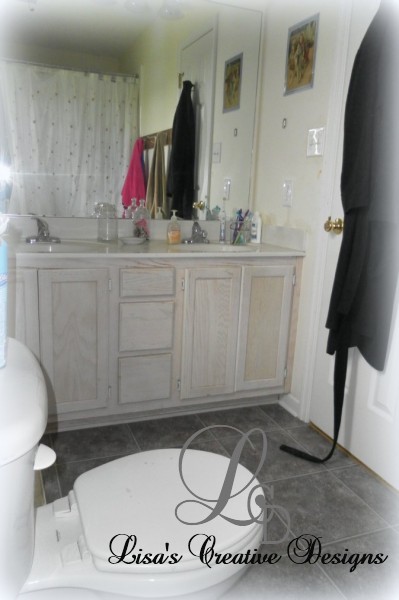
Last week we took a peek at my Shabby to Chic Master Bathroom Makeover. I hope you all enjoyed the tour. If you missed it you can find it by clicking the link in the previous sentence. Today I wanted to show you how I gave my hum-drum bathroom cabinets a face-lift.
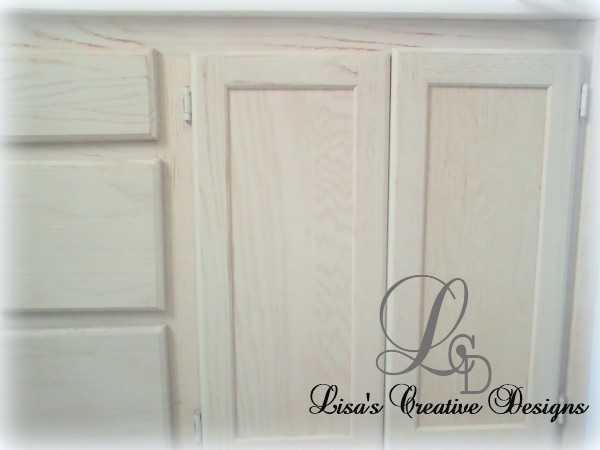
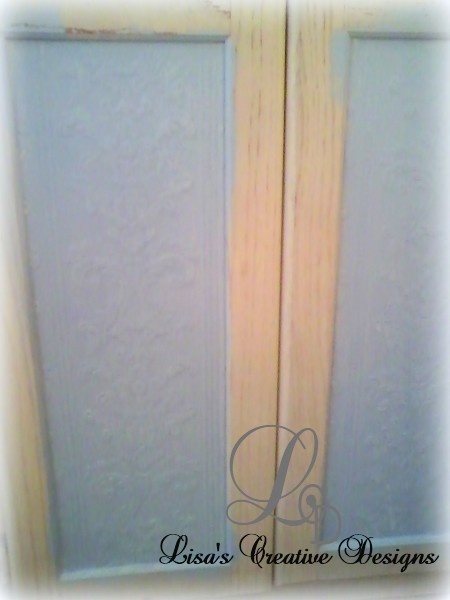
Remember this “before” shot?
They are pretty bland don’t you think? I knew I wanted to dress them up and the center panel was just begging for something special.
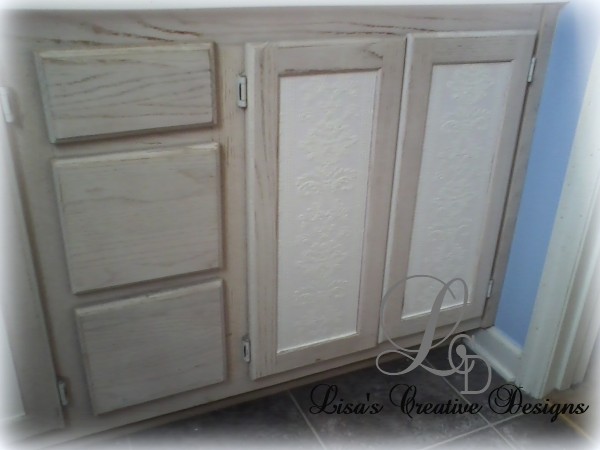
I bought a roll of embossed, paintable wall paper with a pretty damask design at a local thrift shop for a couple of bucks a while back.
I cut four pieces to fit and adhered them to the center of each door panel.
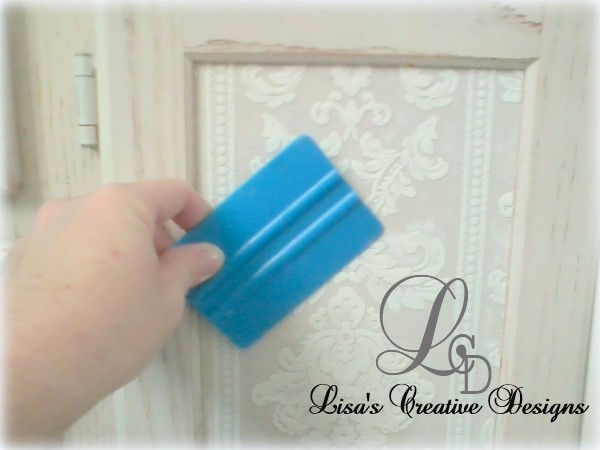
The paper was pre-pasted so I dipped each piece in a tray of water, let the adhesive set up the carefully applied the piece to a cabinet door. I smoothed out any wrinkles or bubbles with a “smoother“. Can you believe this is actually the technical name for this piece? I had to look it up because I had no idea what this tool was called. Once the bubbles were out I wiped each panel with a towel to catch any water. The I let it dry completely.
TIP: On small project as this you can use an old credit card to smooth out any bubbles or wrinkles if you don’t have a smoother.
UPDATE: Remember I bought the wallpaper at a thrift store? Well apparently the adhesive had gone bad because the paper started peeling off the very next day. GRRRR. I ended up redoing all four of them and reapplied them with Mod Podge (Decoupage Glue). It turned out great. When life throws you a curve ball, IMPROVISE! You can purchase brand new paintable wallpaper at your local home improvement store. I bought a new roll when I created the panels in my Cottage Style Dining Room . The adhesive worked great.
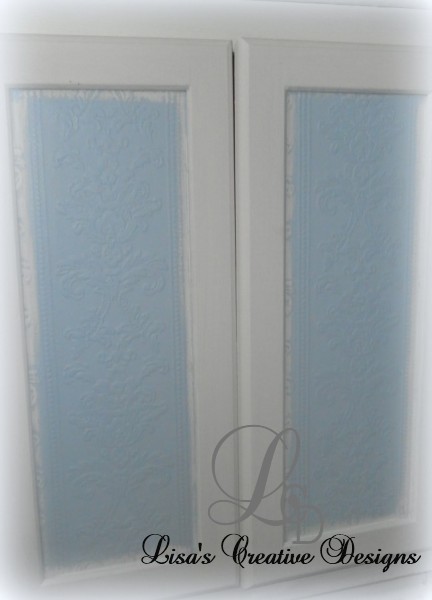
Next step….paint the panels in the same blue I painted the walls.
The panels got two coats of “Spa” blue and the rest of the cabinetry received two coats of satin white water based paint.
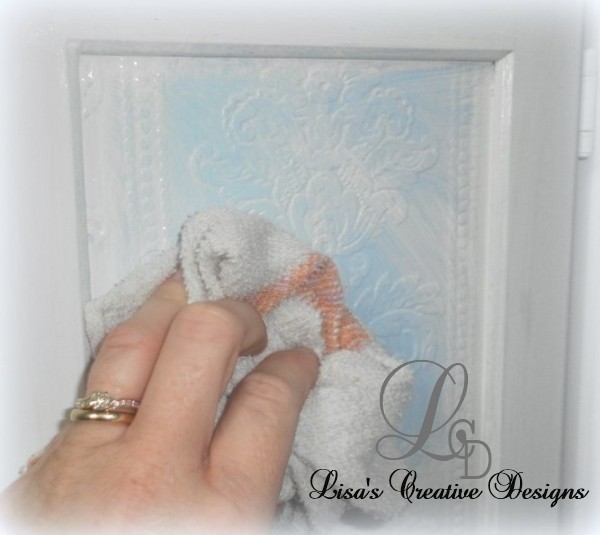
I let the paint dry and cure over night. Then the fun began. To bring out the texture in the wall paper I applied a color wash. To create the color wash, I mixed some left over white paint with water. I’d say a ratio of 2 parts water to one part paint works well. Working in small areas at a time, I applied the paint with a brush and then quickly wiped off a lot of the paint with a rag. This effect leaves some paint in the grooves, bringing out the design of the paper, and lets the blue still show through.
I love this painting technique. You may remember I used the same technique when I refurbished a Thrift Store Frame .
I love the way the doors turned out.
Once all of the paint dried and cured for a few days, I gave everything a couple of coats of paste wax. Paste wax gives a painted piece a smooth, soft protective finish. So, some of you may be wondering, what does it mean for paint to cure? You can find a great explanation here. Basically, if a painted piece does not have time to cure, anything you apply as a top coat can ruin the finish. The paint can wipe off, bubble, etc.
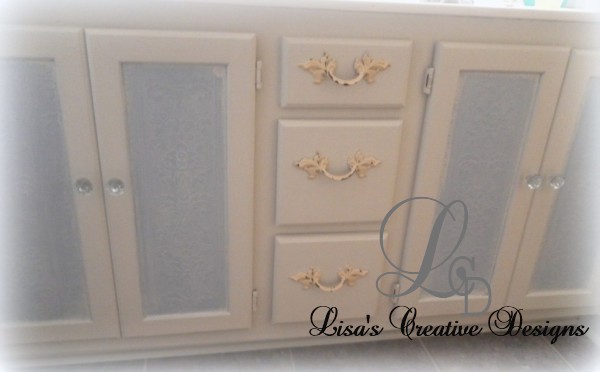
After waxing, I added new hardware to the drawers and doors. The knobs were a craft store find and the drawer pulls were found at a Habitat Resale store. (These places are great for finding old windows, doors, cabinets and more!)
And here is the finished product…
With a small amount of money, a little bit of paint, wall paper and “new” hardware this bathroom cabinet now has personality. Paint is always a budget friendly, easy fix for just about anything that has seen better days!
Thanks so much for stopping by today! Now go pick up a paintbrush and give something a makeover!
TTFN,
~Lisa
[signoff] Linking Today To:Furniture Feature Friday,Show and Tell Friday, Feathered Nest Friday, Inspiration Friday, Tater Tots and Jello, Saturday Nite Special




Kathryn Griffin
Perfect! They are so pretty and happy! Thank you for sharing. Visiting from Mustard Seed. Would love it if you would share this at my Make it Pretty Monday party at The Dedicated House. http://thededicatedhouse.blogspot.com/2011/07/her… Hope to see you at the bash! Toodles, Kathryn @TheDedicatedHouse
Kathryn Griffin
I think I may have left the wrong link for the party. http://thededicatedhouse.blogspot.com/2012/09/mak… Toodles, Kathryn @TheDedicatedHouse
Sue
I love how this turned out! my vanities could use some updating too. Thanks for the inspiration, Sue
Julia
So classy and elegant looking now, good job!
Lisa Hogan
Thank you so much Julia!