Learn how to Create a Vintage Door Headboard for your Cottage Inspired Bedroom
Hi Everyone,
I am sorry for the little absence. I was lucky enough to sneak away from my life for nine days with a trip to Las Vegas with my hubby. He had to work a trade show and I tagged along for some much needed downtime. I can’t say it was the most relaxing trip but it was nice to get away from the daily grind. If you are looking for a quiet get-a-way I do not recommend Vegas. It’s loud, crowded and busy 24/7. We had the pleasure of staying at the famous Flamingo Hotel while they were hosting a Fraternity Convention. Every night the Frat Boys felt the need to bring the party up to their rooms between 1-2 am, running up and down the hallways hollering, and waking me up.
My toes are still healing from walking up and down the Strip window shopping and weirdo watching. Las Vegas is an exciting town with lots to see and do, besides gambling and running around with a lampshade on your head. There are some really beautiful things to see there, and some not so beautiful things. I just think that 9 days is a bit long. It gets old after a while and I guess I am getting old too. The party animal in me has been in hibernation for years.
Anyhoo, I have been back for about two weeks now and I am finally getting back into the swing of things around here. I have been making progress slowly, but surely, in the Master Bedroom and wanted to share my latest completed project with you today.
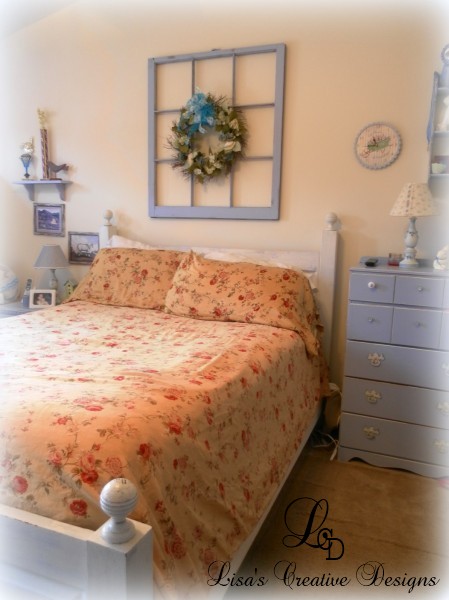
I built my bed years ago with a couple of old closet door panels and some lumber. I was a bit tired of it and thought it needed an update. Here’s my bed in its “Before” state…..
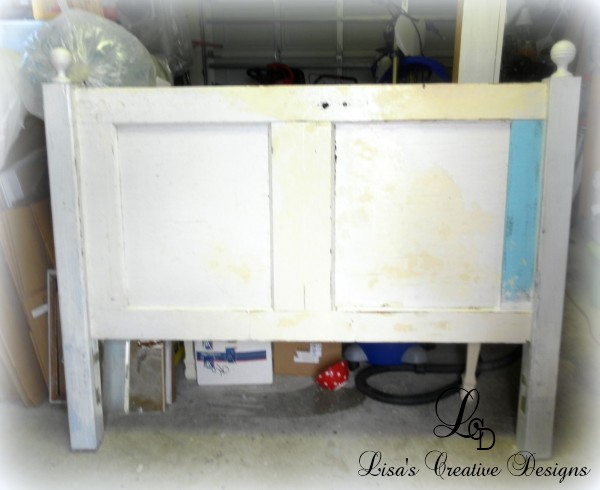
I’ve had this vintage door in my garage, collecting dust for quite some time waiting for me to do something with it. I actually almost got rid of it a couple of times. I am glad I didn’t. I decided to use the door to redesign the headboard of my bed, giving it more height and making it more substantial.
The first step was to cut down the door to the correct length. I had to cut a couple of small boards and build up the freshly cut end of the door. I used wood glue, small nails and finished it off by calking any gaps. Does not look so pretty now but I promise, you will love the end result!
To attach the door to the existing 4X4″ posts, I drilled holes into the outside center of posts, and attached the door with long screws. I countersunk the screws and spackled over the holes.
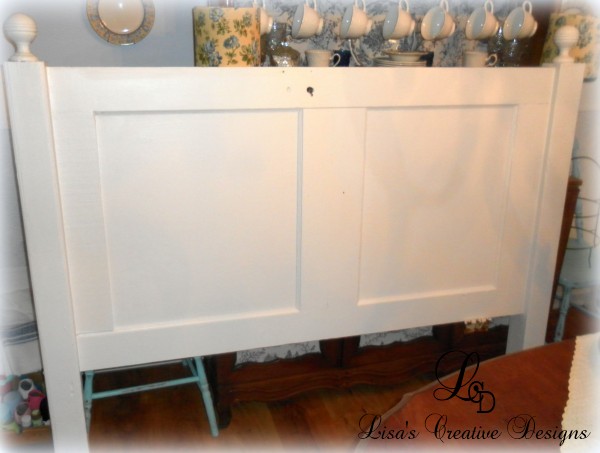
After a couple of coats of fresh white paint it was ready to come inside for its finishing touches. Now it looks like a Vintage Door Headboard!
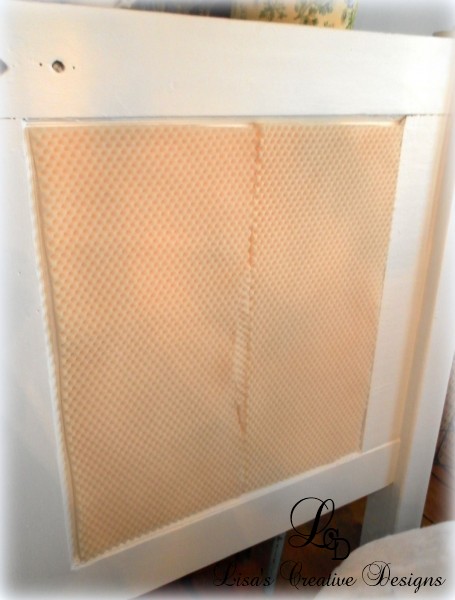
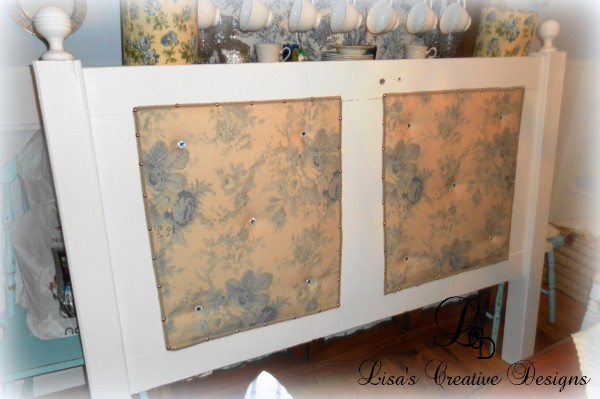
I glued down some foam inside each recessed panel of the door.
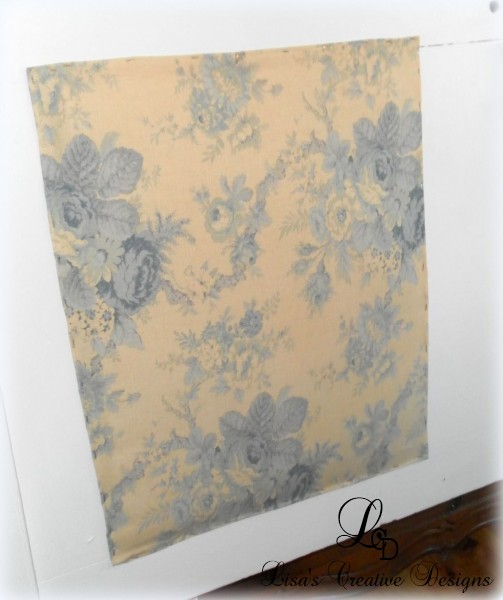
I then stapled a piece of this pretty cottage blue rose fabric on top of the foam, all around the edges.
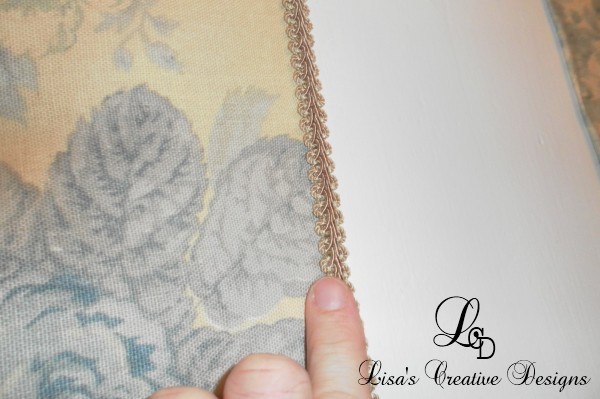
I finished of the edges of each upholstered panel by hot glueing a pretty beige gimp around the edges, followed by upholstery tacks.
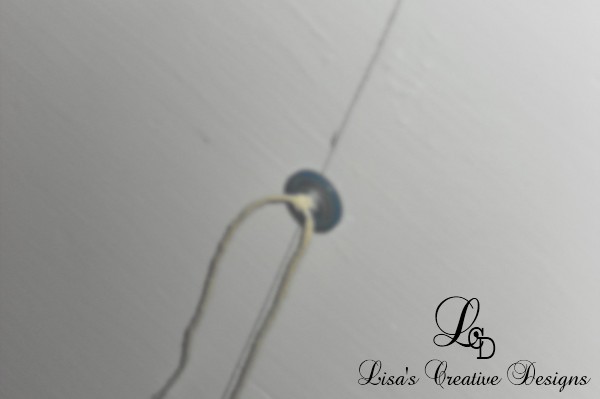
Let’s back up a bit. Before I glued down the foam I drilled 5 holes evenly spaced apart into each panel. Once the fabric was secured to the front, I completed the headboard by tufting each panel with decorative buttons. This step is very simple. Thread a large needle with string. Starting from the back, push a threaded needle through the hole of a button, through the hole in the bed, and through a decorative button in the front. Then go back through the hole and ending in the back of the Vintage Door Headboard. Pull the string taut and tied off the string. Do this with every hole.
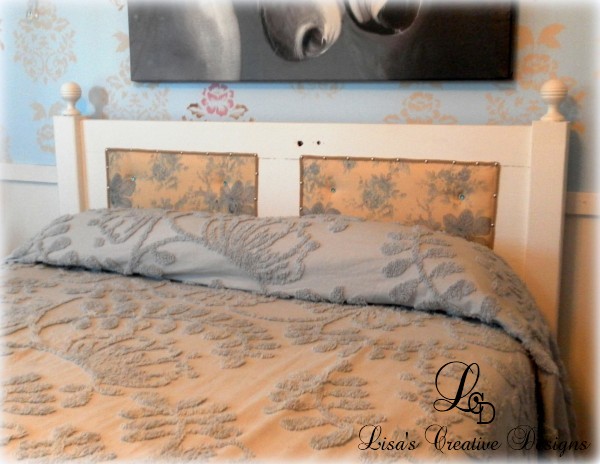
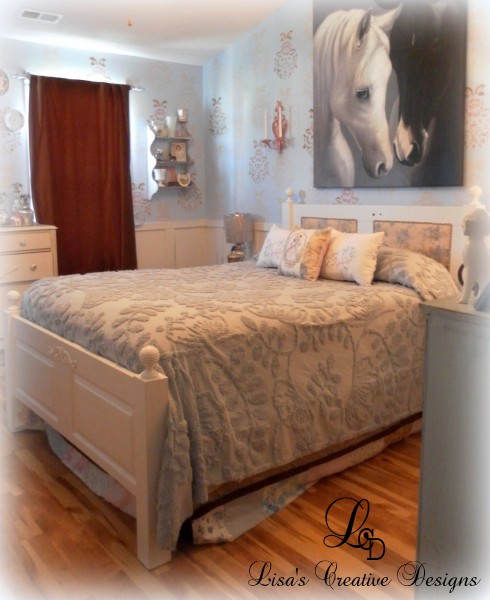
Here is the finished results of my Vintage Door Headboard….
I gave the footboard and side rails a fresh coat of white paint and reassembled the bed.
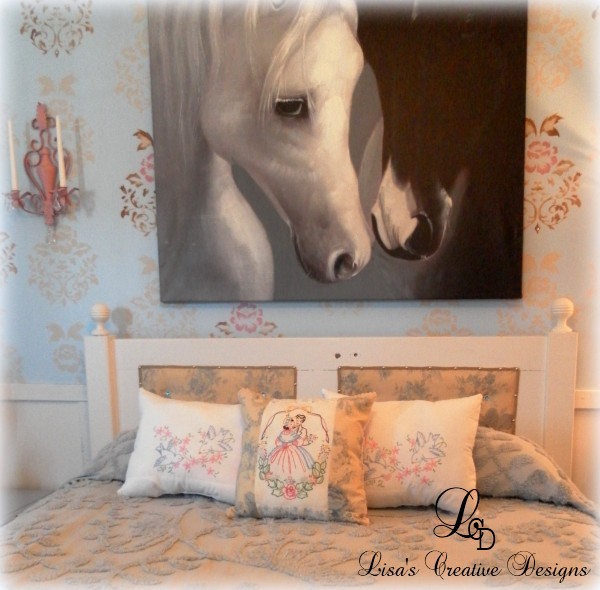
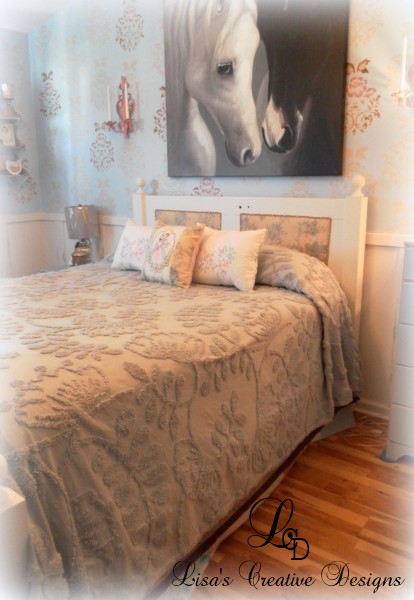
I bought a pretty smokey blue chenille bedspread from Through The Country Door and made a few throw pillows out of vintage embroidered linens.
I LOVE how my bed looks now.
The bedroom has come along way in the past couple of months. It has really taken shape and I love going in there now. It is very soothing. I have to complete the night stands, mural and a few odds and ends here and there. Almost done!
Need I say more?
Thanks so much for visiting today. Have a great day!
~Lisa




Kris
I really love your headboard – it turned out so pretty. I like that you added that special touch with the tufting. I’m taking an upholstery class in September and am taking on a wingback with a “guh-zillion” buttons, LOL! Wish me luck!
Lisa Hogan
Good Luck with your chair! I have a wingback that I just moved into the livingroom. It really needs to be updated. I thought about reuhpolstering it but may chicken out and get a slipcover. I would love to see how yours turns out!
Donna Allgaier-Lamberti
I’m very interested about your horse painting/picture above your bed? Please tell us about it.
Lisa Hogan
I have had alot of comments on my horse painting. I bought it at Ross’.