A Shabby Chic Inspired Girl’s Bedroom Makeover That Will Warm Your Heart
When you run your own business it can be really easy to let some things fall by the wayside. My daughter was only 3 years old when we moved into our current home. As the years went by her room went from a cute toddler’s bedroom to a mishmash of decor and furniture. It was tired, drab and shabby. It bugged me. Over the course of two years I began planning her room makeover in my head and shopped for second hand furniture that I could customize. I had a plan in my head but her bedroom makeover stayed on the back burner for quite awhile. When I finally had everything I needed for her room and the time to do the project I rolled up my sleeves and got to work. Let’s take a look at my Shabby Chic inspired girl’s bedroom makeover, shall we?
A Tired Bedroom Just Before It’s Much Needed Makeover
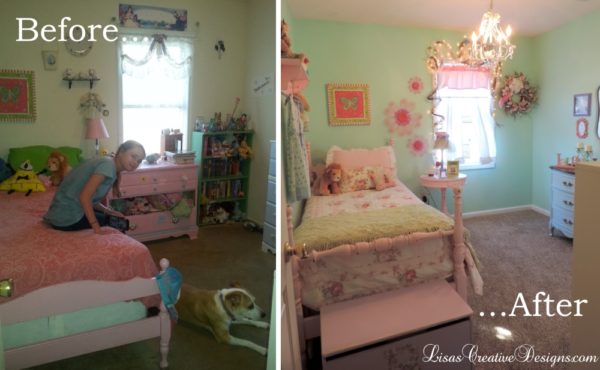
Here is a before photo of my daughter’s bedroom. I am sure you can see how badly it needed a makeover.
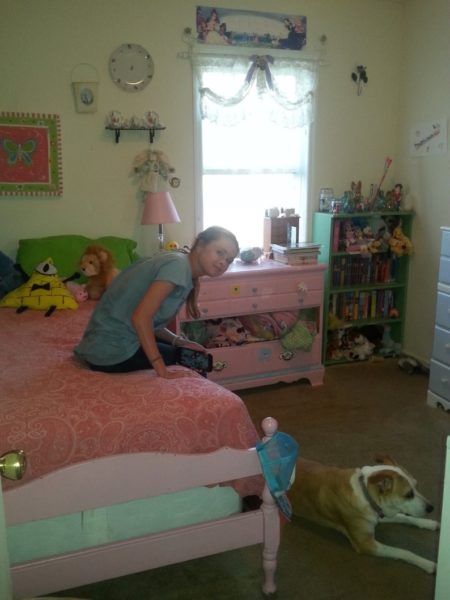
A Shabby Chic Inspired Girl’s Bedroom Makeover Step ONE:
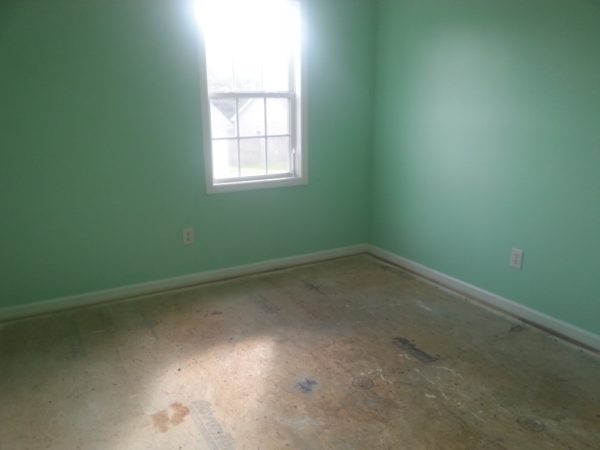
I started this bedroom redesign by ripping up the old carpeting and giving the walls a fresh coat of paint. I was going for a mint green color on the walls but it dried darker than I anticipated. It still came out great. The walls are just a tad bit bolder than the original plan, which is fine.
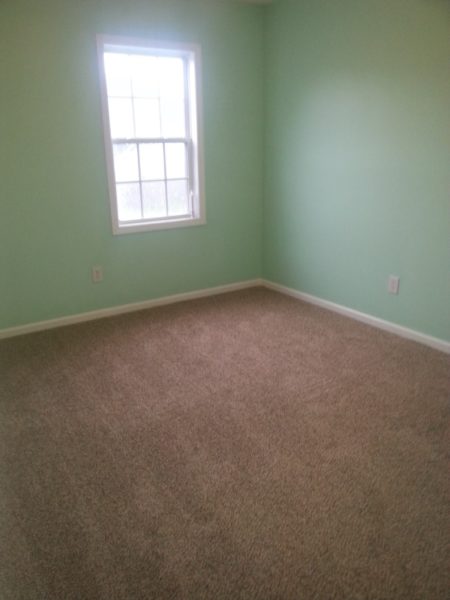
We had a new carpet installed as well. I would have loved to do laminate or hardwood but could not commit to the time it would have taken to install and my bad back agreed with me.
Step 2: Furniture Placement
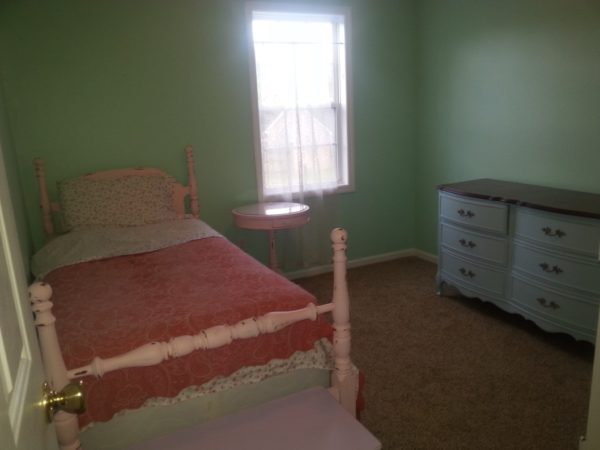
After the carpeting went in, it was furniture placement time. Now the fun really begins! Every stick of furniture you see here was purchased at a second hand store or given to me. Each piece got a new look with paint. I did all the furniture makeovers ahead of time. I will be doing a “before and after” post about the furniture makeovers at a later date so be on the lookout for that! No Shabby Chic inspired girl’s bedroom would be complete without soft, pastel painted furniture!
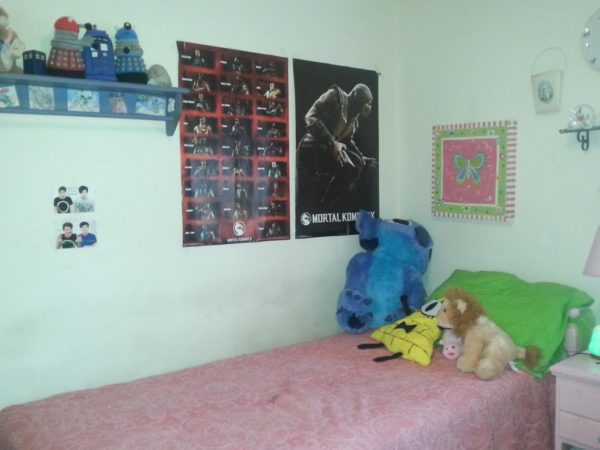
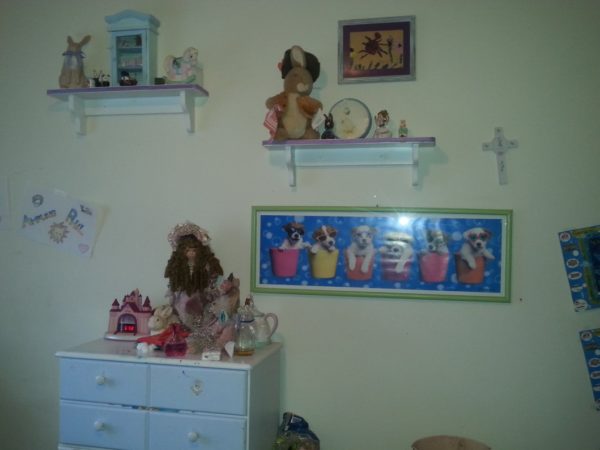
Another Before Photo:
As you can see here there are remnants of her 3 year old toddler’s room mixed in with teenage “stuff” she adorned her walls with. YUCK.
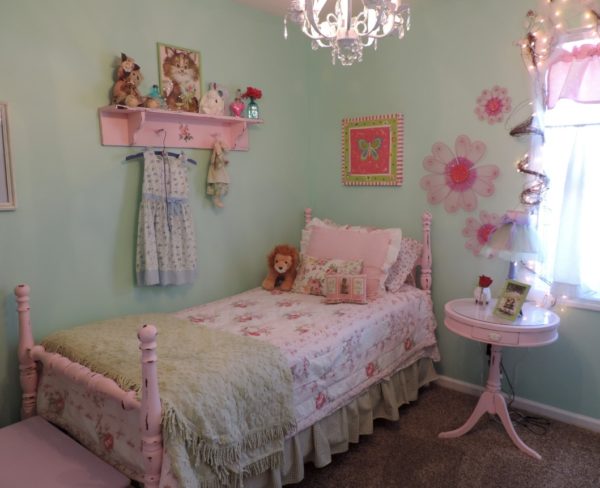
And After. Sigh.
I think the “after” looks soooo much better. Don’t you? I swapped out the bed frame with one that was taller. I painted it a petal pink and distressed it. Her bed was really given a shabby chic inspired look with pretty floral bedding and a vintage green chenille bedspread. The sweet floral quilt and gingham dust ruffle were Ebay finds.
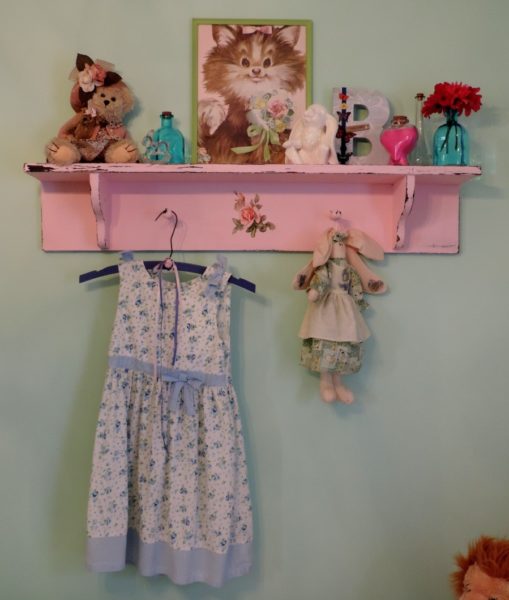
I built this shelf from scratch, painted it distressed pink and added a sweet vintage rose image to the center. After hanging it on her wall I decorated it new glass bottles, a vintage framed puppy print and some other decorative items. I hung a dress she wore when she was little on one of the pegs on a vintage wooden hanger.
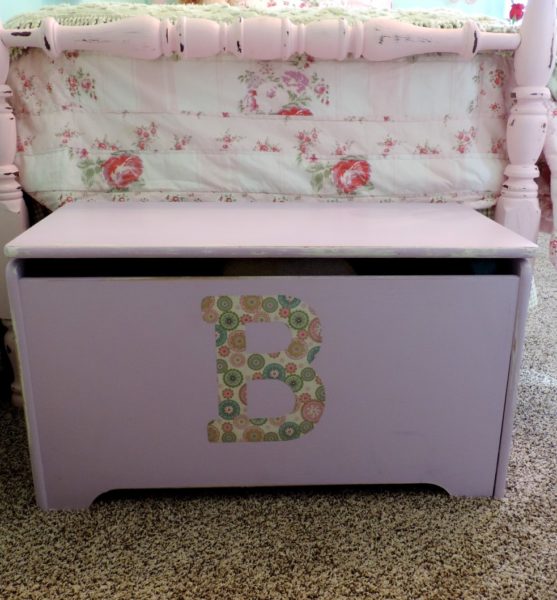
A Repurposed Toy Box
Her old toy box was stashed in storage so I brought it out and gave it a complete makeover. It was painted a sweet purple and her initial was decoupaged on the front. I cut the letter “B” out of scrapbook paper. Placed at the foot of her bed, her upcycled toy box now holds extra blankets. She got this toy box as a baby. I am so happy I could continue to use it in a new way.
Let There Be Light!
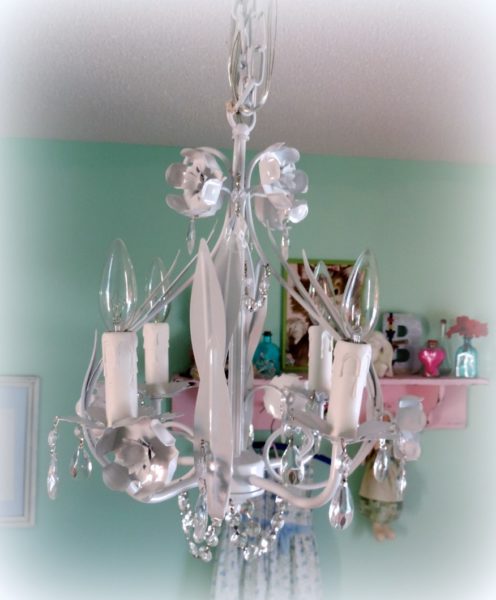
The standard light fixture was replaced with this sweet white crystal chandelier I purchased on Amazon. I love it!
3-D Wall Art
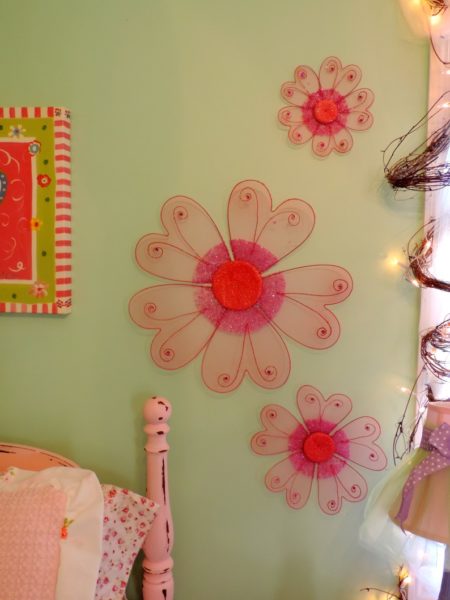
Her stretched canvas butterfly print was rehung above her bed. To the left of the window I hung a set of three dimensional flowers made of wire, glitter and netting material. I bought them in the party section of Hobby Lobby. They are really light weight so all I had to do was place a single nail to the center of each one.
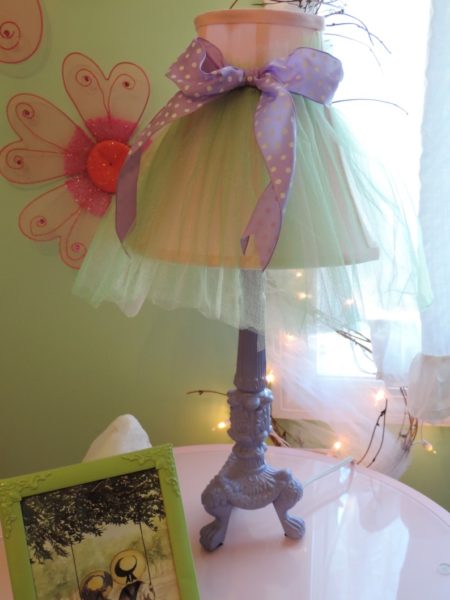
The table lamp was a yard sale find that got a new shade and paint job.
Framing The Window
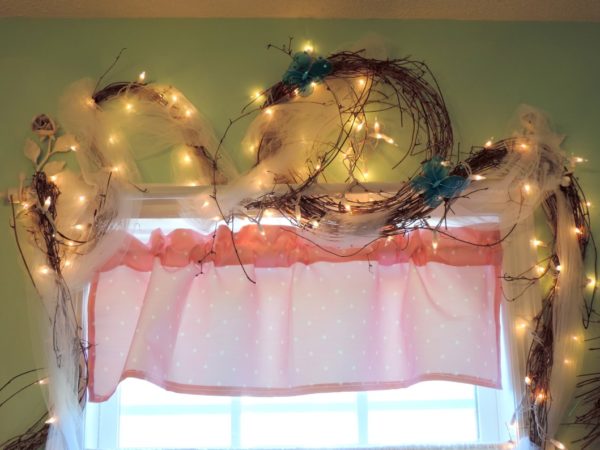
It was then time to get a little creative with the window. I framed the window with stretched out grapevine that was wrapped with tulle and white twinkle lights. I also tucked in a few butterflies. To secure it to the window I wrapped the grapevine around a wooden curtain rod and added a couple of finishing nails along the window casing.
Dressing Up A Dresser
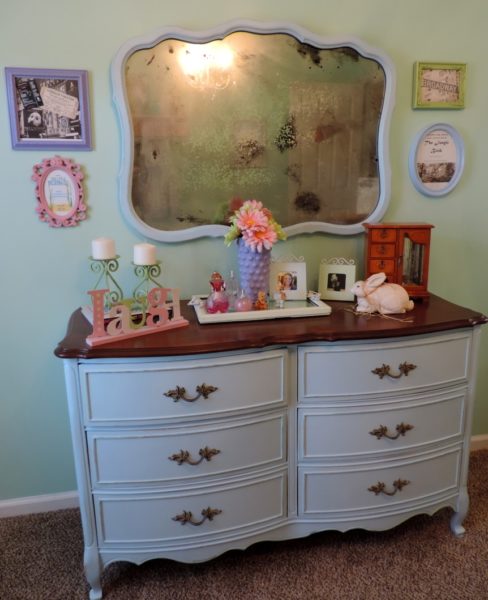
Her dresser had seen better days and the wall in which it lived against was just an eyesore. Everything needed to be redone.
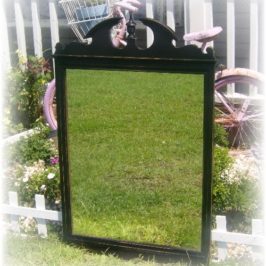
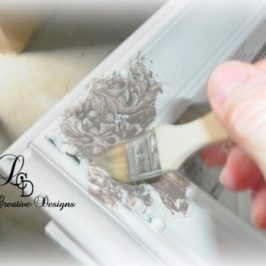
Purchased at a local consignment shop for $75 this beautiful soft blue dresser and mirror set looks perfect on the wall opposite the bed. It didn’t start out this pretty soft blue. The magic of paint transformed this set. The mirror glass was given an aged look with a little creativity that I promise to share in a later post.
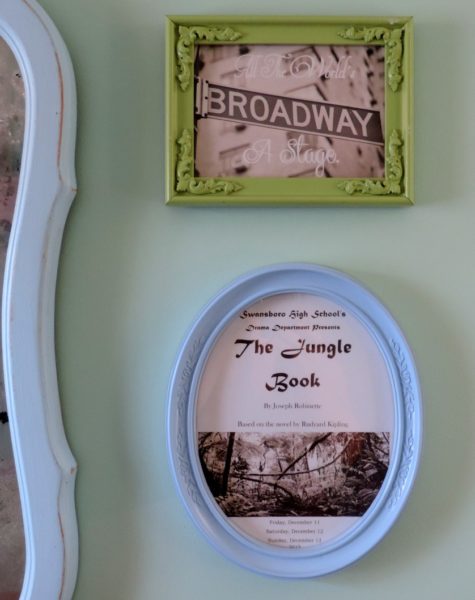
My daughter plans to major in Theater in college and really enjoys the drama club in her current school. I framed a couple of Broadway prints and her old show programs in a few painted thrift store frames.
A Shabby Chic TV Cabinet Gets a New Look
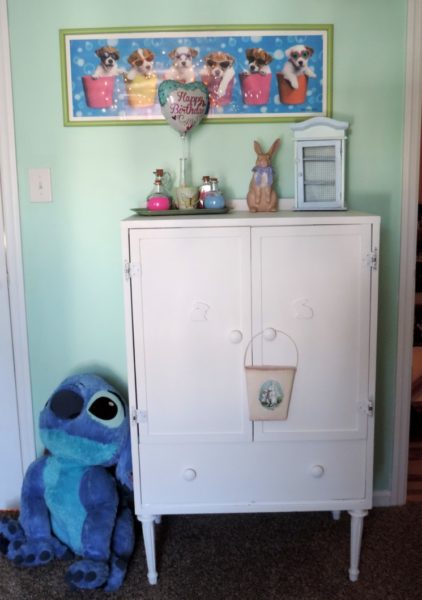
You can see that this wall needed help as well. This little cabinet in the BEFORE photo below began as a dresser that was given to me when I was pregnant. I repurposed this by removing all but one drawer and adding a couple of doors and a closet rod. It originally had some legs too but they broke off over the years. When my daughter was a newborn this cabinet acted as a small closet for all of her cute little outfits. As she grew it was transformed into a TV cabinet.
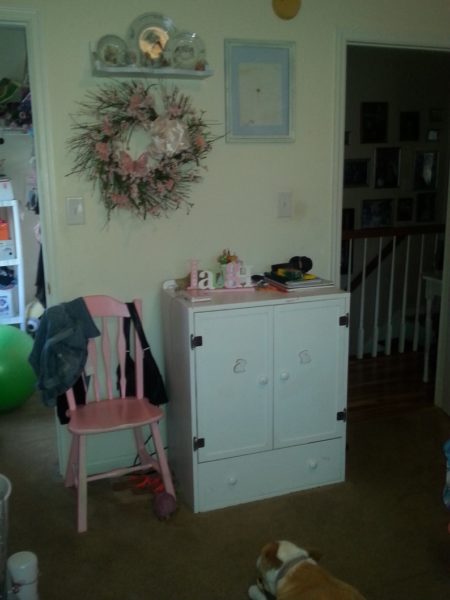
I wanted to keep this sentimental piece so I cleaned it up and added four new legs to the bottom.
Converting A Closet!
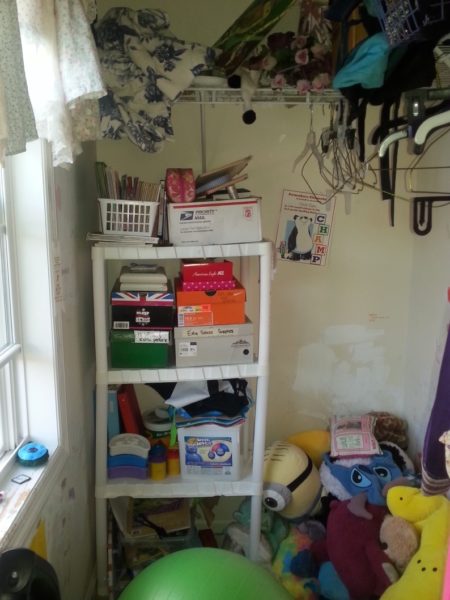
The walk in closet in this room is a decent size, has a nice window and was a real mess as you can see here…
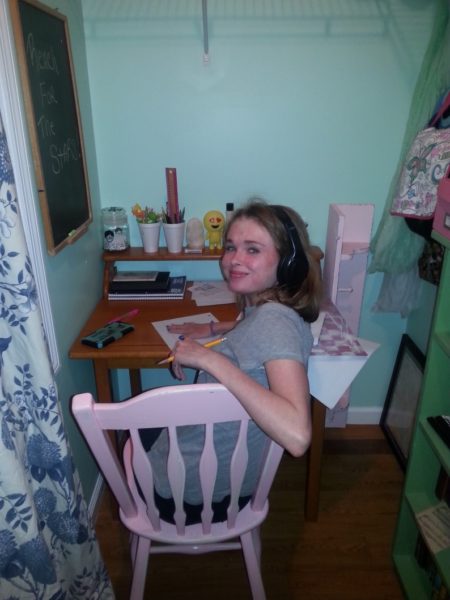
I cleaned out all the junk, painted the walls and added a small desk and chair along with pens and office supplies. Now she has a spot to do her nails, homework and craft projects. She can make a mess in there and I don’t have to see it. It works like a charm! She is always in her “office” now and believe me she knows how to mess it up!
Afterglow
This is my view as I walk past her room these days with the addition of some dirty clothes slumped on the floor and her bed isn’t always made. Ahhh teenagers!
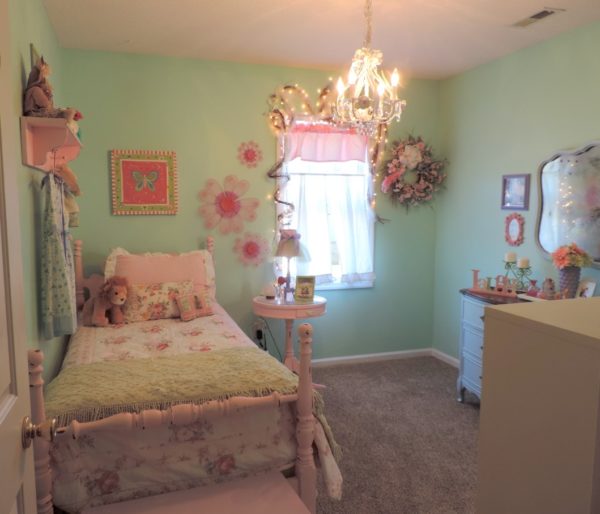
Before and After: A Shabby Chic Inspired Girl’s Bedroom Makeover
I hope you enjoyed touring my daughter’s “shabby” to chic bedroom transformation. This bedroom was done on a budget with the use of repurposed and redesigned items. When decorating a Shabby Chic inspired girl’s bedroom you can keep your budget low by incorporating “reinvented” thrift store finds to the decor. The most expensive addition in this room was the carpeting!
Coming Up:
Stay tuned for before and after photos of the furniture transformations featured in this post.
Happy Decorating!
~Lisa
Sharing Today’s Post With:






Marilyn
Lovely bedroom. It is so pretty.
Marilyn