Hi All,
You may remember from last week’s Recycled Door Pantry Post I mentioned that I now had some extra room in my existing kitchen cabinetry. I have some great dishes that I have been DYING to display when I am not using them and this gave me the perfect opportunity. I decided to give this section of cabinetry a face lift and use it as a display piece.
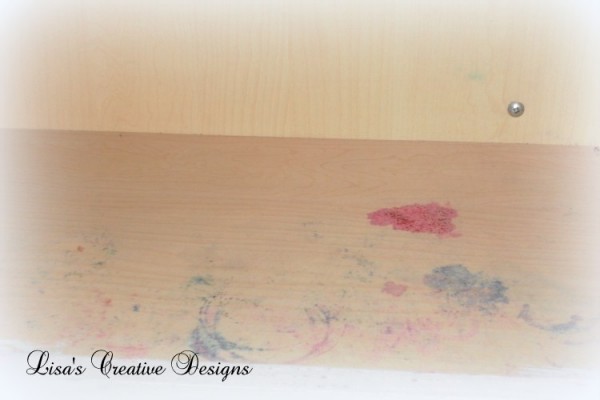
First thing I did was to remove both doors and empty out the cupboard. This cabinet used to store all of my baking goods, including a collection of food coloring and pastes that ruined the bottom of the cabinet.
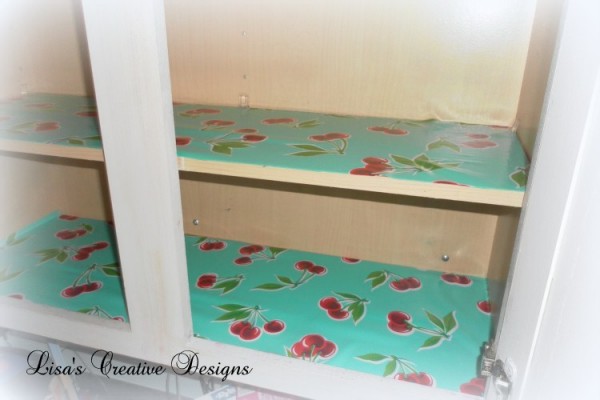
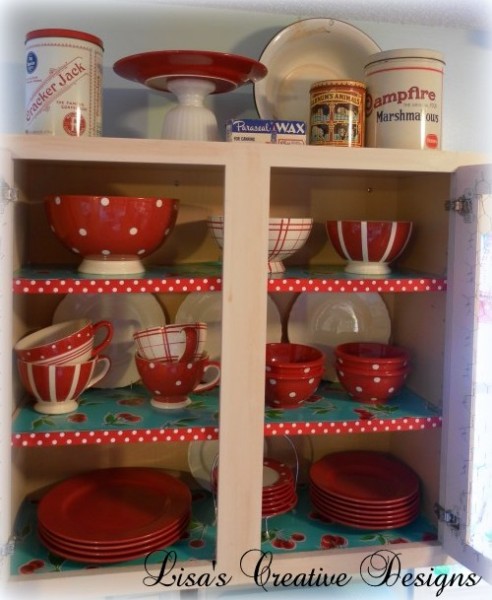
I solved that problem by attaching some cute aqua and red cherry oilcloth I bought a few months ago at Fabric.com. I cut it to fit and attached it by spraying the back with spray adhesive.
The next step was to turn my attention to the doors I removed.
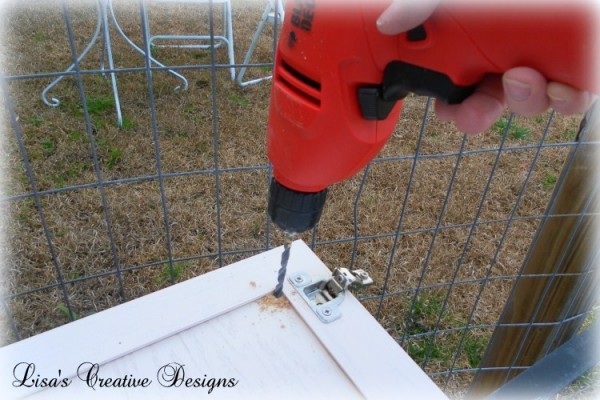
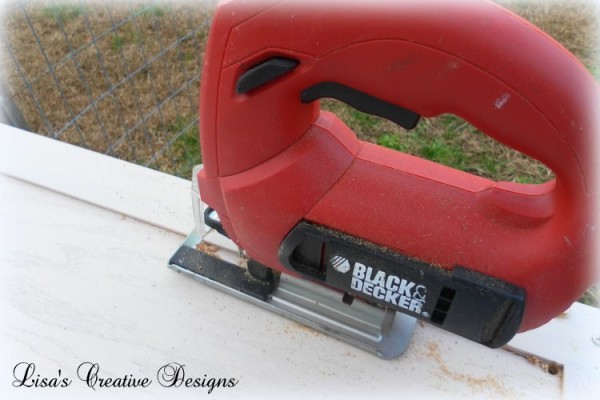
I wanted to remove the middle section. I began by drilling a hole in each corner of the recessed area so I could insert a jigsaw bit.
Nest Step….CAREFULLY cut out the middle by running a jigsaw around the perimeter of the recessed part of the door panel. Do NOT drink 8 cups of coffee before doing this! You want a very steady hand.
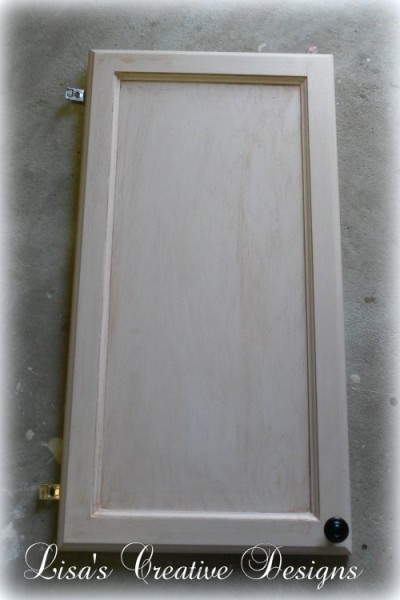
What you are left with is two doors with the centers removed.
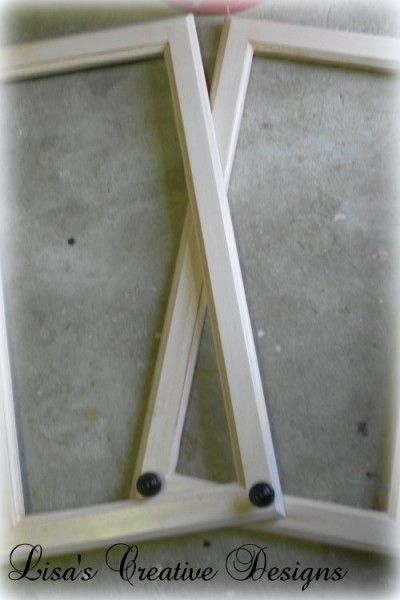 Now, I thought about adding glass to the doors. I mean it would keep the dust out right? I decided I wanted something less formal, something that would add character to the room. Hmmmm. I do love chickens, have al0t of them in my cozy little kitchen…….
I hopped in my car and drove right over to Lowe’s Home Improvement and grabbed an $8 roll of one inch CHICKEN WIRE!
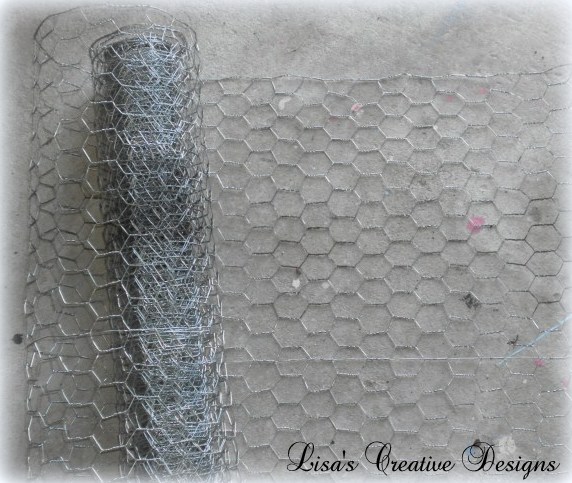 I measured the opening of each door and added an inch to each side and began cutting the chicken wire to fit.
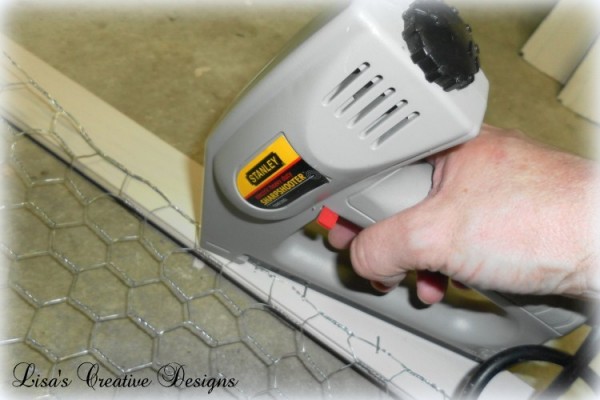
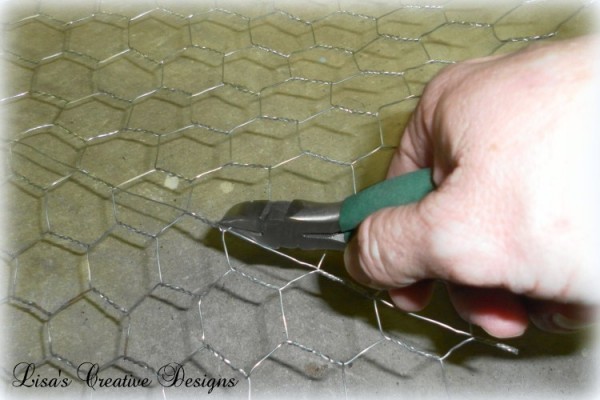 Oh and this was the fun part. I whipped out my electric staple gun and stapled the wire to the inside of the cabinet doors, pulling it taught as I went. I LOVE my staple gun. Having an electric one is much easier to work with than a manual one.
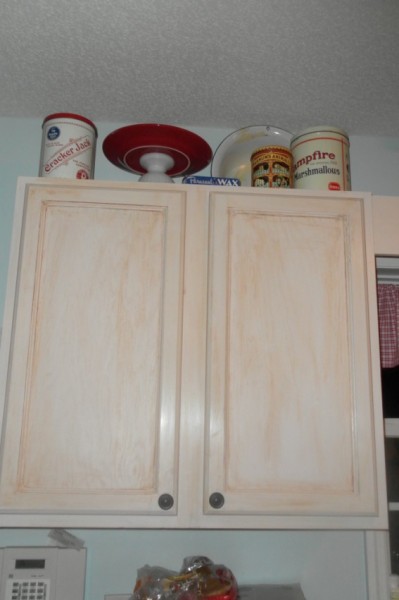
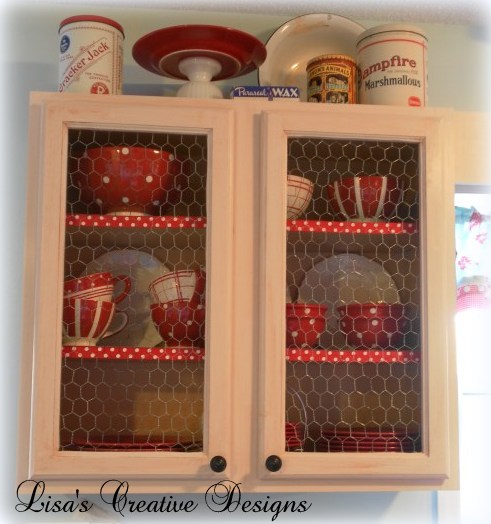
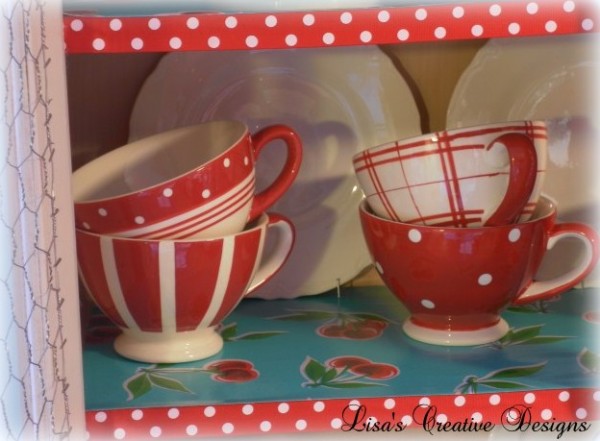
Tah Dah! Here is my cabinet all finished and dressed.
Now I can see my favorite dishes every time I walk into the kitchen. I trimmed the shelves with some leftover red and white polka dotted ribbon which compliments another display shelf I have in the breakfast area.
Yes we do actually use these dishes. These mugs are just adorable and they are awesome filled with coffee in the morning or hot cocoa on a cold winter evening. They are HUGE.
So…. What do you think? I’d love to hear 🙂
Thanks so much for visiting today!
~Lisa






Dean
Lisa belongs on her own show- come on people, this could be huge on your network!
Emily Dugan
The whole time I am reading this I am in awe… I’m thinking wow, wow, wow…. okay, I can do this! I LOVE this that you made. I just saw it on pinterest and thought maybe it was an item for sale, but your tutorial is 10x better! thanks so much for sharing! I think I am going to apply this technique to a few other things too! 🙂
Lisascraftiques
Thanks so much for visiting and leaving such a sweet comment. You should definately try this one day! It was a fun and easy project.
Lynn Simone
You have a such a creative mind the cabinets look so good! Are you ever going to do a Master bedroom redo???
Lisascraftiques
Hi Lynn,
I am trying to finish up my first floor. I have a few projects left and then I am planning on moving upstairs. My master bedroom is definately on my list along with my master bath, my son’s room and my daughter’s room. The plans are already in my head. Thanks for reading!
Rasha @ mychampagnetaste
Thx Lisa for your sweet comment…
I love oyur cabinet…the chicken wire is the perfect touch to this cabinet and the cute polka dots ribbone cant be mor perfect…
I think I can have cereal in those big mugs :))))
Amanda
Wowee! I am impressed! You are sure handy with those power tools! I am working on a desk right now with a hutch top and glass doors. I may end up putting chicken wire in the doors…such a charming look! Thanks for the inspiration!
Best Wishes and Blessings,
Amanda
angie
I love the colors. This is giving me the courage to consider doing this in my rental apartment.
Gina
I can’t believe the transformation! I love it! Red is my favorite color. Can I ask where you got the dishes? Love the big cups!
Lisascraftiques
Hi Gina, Thanks for visiting. I bought the mixing bowls and big mugs at Through The Country Door and the polka dotted cereal bowls were from Amazon.
May
I bet this lifts your mood every time you walk into your kitchen. I love the bright cheerfulness of it.
Kathleen
I love the aqua with cherries fabric….also a big fan of chicken wire! Very cheerful!
Tania Angelo
It looks so great! I have that same oil cloth fabric in my stash, it looks great as shelf liner! 🙂
Tania
Rona
You did a fabulous job. I love the red.
Vickie
I love it all! From the colors, to the oilcloth, to the dishes, and the chicken wire. It looks like a vintage cupboard filled with fun colorful dishes! Visiting from FJI.
Stephanie @ The Cozy Old Farmhouse
Love this! It looks super cute. I’ve seen those dishes on The Country Door website and loved them, totally my style. I love the combo of the polka dot ribbon with the cherry fabric. It’s all very cute.
debbie
hi Lisa! I am visiting from MM. I adore the chicken wire. Love your plates and your roosters too. I have a thang for them as well.
Suzan
Hi,
Loved the post! My hysband would have a heart attack if he came home and foud this.
Suzan
ladybug cottage
Lisascraftiques
Hi Suzan
I am VERY Lucky to have a husband that gives me full reign when it comes to decorating the house. He has faith in my creativity and eye for design. Gosh if he fought me everytime I wanted to hang a picture or start a DIY project we would have major issues. I am blessed and I am Thankful. 🙂
Allison
One thing that I really adore in my kitchen is the beauty of my kitchen cabinet, I paint it pink because mom love it too.
Roeshel
Such a great idea, Lisa and it looks amazing! Love it! Thanks so much for sharing in the DIY Project Parade! 😉 Have a great week!
R
Debbie
I love how this looks! I am planning on doing a display cabinet when we start our kitchen, and like you had thought glass. May be rethinking that, this looks easier, cheaper and I believe will work with my plan. Thanks for the inspiration.
Pinning for future.
Debbie 🙂
Mary
Thank you so much for posting this! I was looking for a tutorial online and came across your blog. I love the way it turned out. Nice red dishes too!
Lisa Hogan
You are so welcome! Good luck on your project. I’d love to see before and after pictures!
Meridith Stephens
I absolutely love this look! It would be perfect in my kitchen but I’m concerned about the dust. Has this been a problem at all?
Lisa Hogan
Thanks so much! If you use the dishes regularly dust really is not an issue. If no,t an occasional dusting is not a big deal. I have more issues with dusting my soffit space. lol. It’s worth the look!
Linda Diane Dorn
WoW!…I Love what you did. You just inspired me to do something unique to my kitchen. Thank you for sharing. Linda
Linda
Sooooooooooo Adorable I Love it. Thanks for sharing.
Bunny
Love the sense of humor in your designs. The kitsch 80’s style is fun.