

Happy Spring Everyone! Today I am going to show you a quick and easy craft project for your front porch or stoop. Most of us have seen photos of these pretty flower filled crocks like the one below from Plow and Hearth.
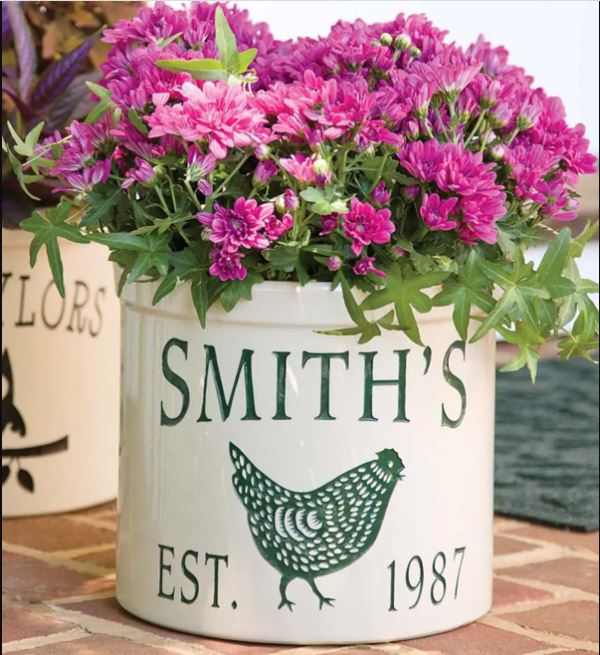
I am sure you have seen them in magazines, in stores and around the internet. And they can be quite pricey. This one shown retails for around $80! I am going to show you how you can make your own personalized flower pot crock out of thrifted ceramic canisters
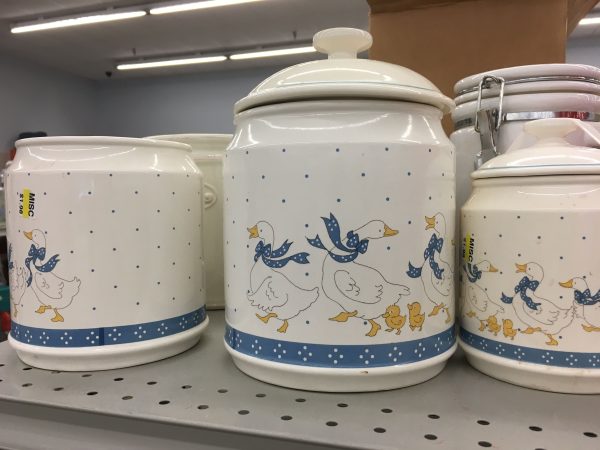
If you’re anything like me, you have a few old ceramic canisters sitting around your house that you don’t use anymore. Or better yet, ones you have THRIFTED and haven’t figured out what to do with them yet! With a little bit of creativity, you can transform those canisters into beautiful flower pot crocks to set out by your front door.
This project is easy to do and only requires a few supplies. Plus, it’s a great way to upcycle and reuse old materials instead of sending them to the landfill. So what are you waiting for? Read on to learn how to make your own DIY flower pot crocks
Materials Needed: With just a few supplies, you can transform an old canister into a pretty flower pot crock.
Materials Needed:
To get started, you will need the following materials:
- Old ceramic canister
- Quality Spray Paint of your choice.
- Electric Drill
- Drill Bit For Ceramic
- Clear Spray Paint
- Waterslide Decal Paper
- Printable Graphic
- Computer
- Printer
- Gloves
- Safety Goggles
- Masking Tape
- Potting soil
- Plants of your choice
Once you have all your materials, you’re ready to get started on your DIY flower pot crock!
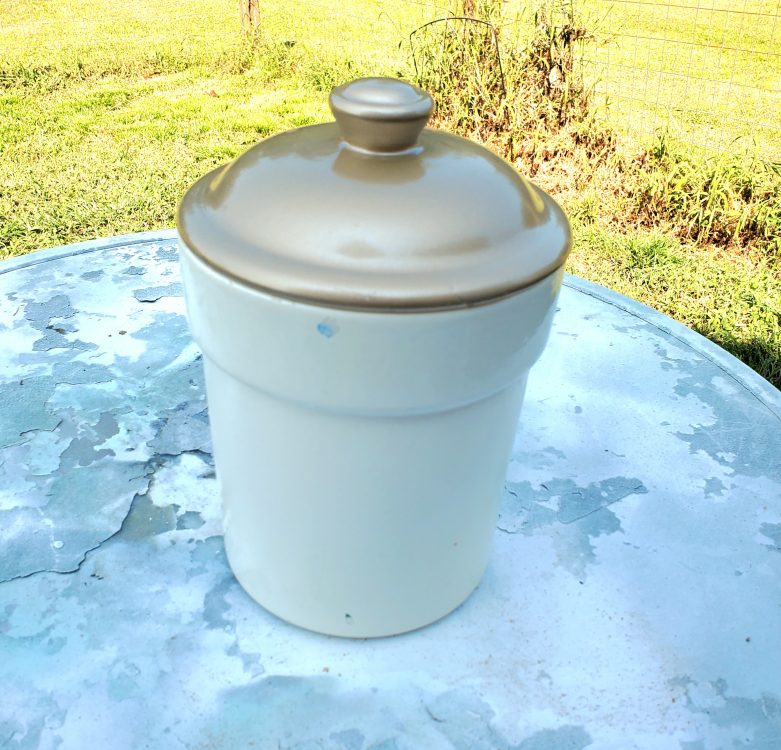
Step One: Clean and prep your canister.
The first step in creating your beautiful flower pot crock is to make sure it is clean. Start by wiping the canister down using a washcloth and warm soapy water.
Once the canister is clean and dry, turn the canister over, place a piece of masking tape to the bottom and drill a hole in the bottom for drainage. This seems a bit scary but if you use the special bit for ceramic it is a piece of cake. The tape helps keep the bit in place.
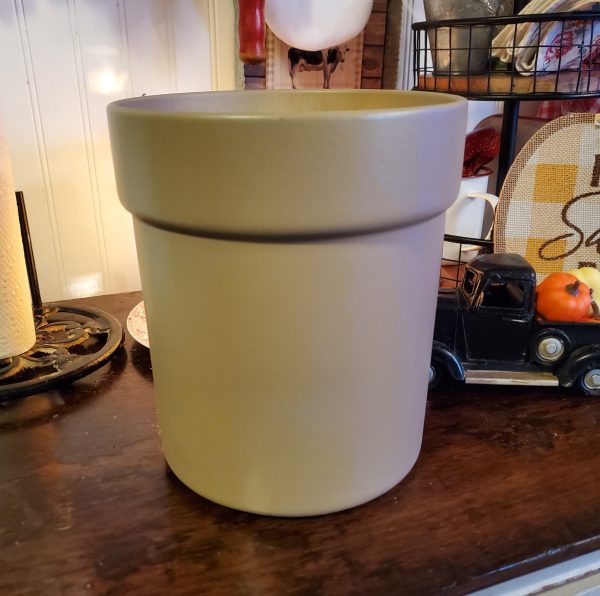
Step Two: Paint your canister.
Take a moment to think about which colors you want to use to create your pretty flower pot crock. This is all up to you, as you can pick colors that match the style and colors already in your home. After you determine your colors, you can start painting!
Next, you will need to use the spray paint to begin painting your canister. Make sure to paint in light even strokes that follow the shape of the canister to avoid drips.
You will need to do multiple coats with drying time in between to get a nice even coat of paint. Allow the canister to dry for 24 hours before proceeding to the next step.
Follow up with a coat or two of clear spray paint for protections. It is important to use sealant if you plan to use your flower pot crock outdoors. Sealant provides an additional layer of protection from the elements and can protect the paint from fading in the sunlight.
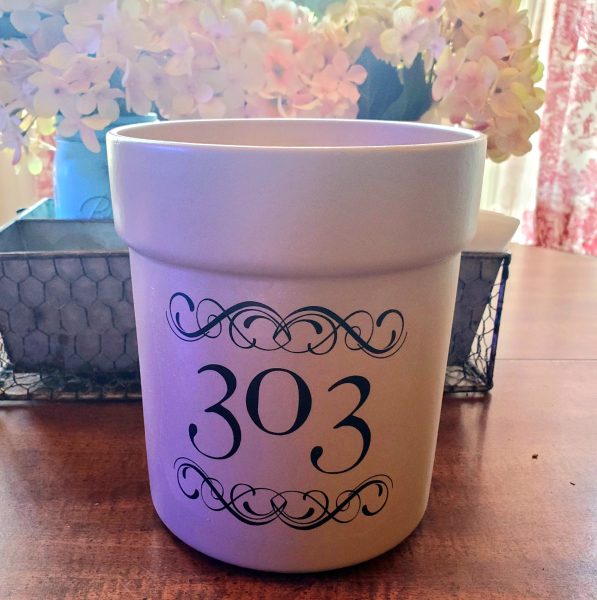
Step Three: Print Your Design on Waterslide Decal Paper
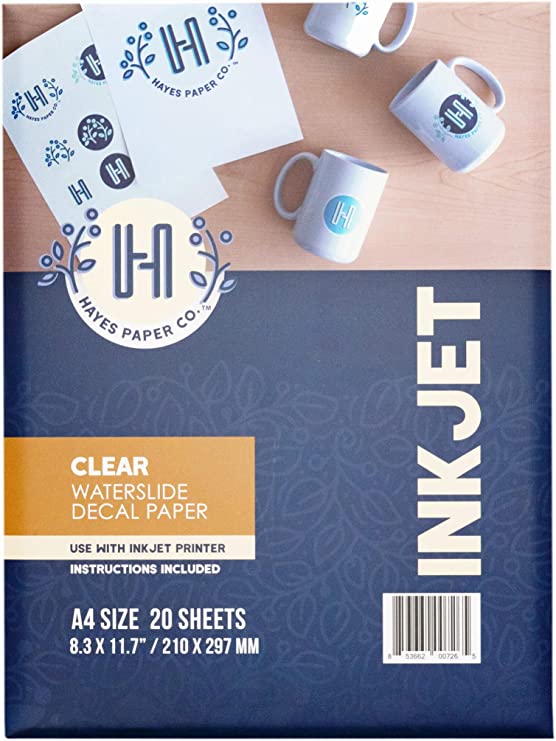
Now it’s time to add your own personal touch to your DIY Flower Pot Crock. Print your design for the “crock” onto Waterslide Decal Paper made for Ink Jet printers. I like this particular paper as you can also use it on non painted glass and ceramic items and bake it in the oven to make it even more permanent. Once you have created your design and printed it on your waterslide decal paper, lightly mist the paper with the clear spray paint three times. (Let it dry in between each coat).
TIP: Tape the corners of the paper to a piece of cardboard before spraying it with the clear coat. It will make this step much easier.
Please Note: I have an Epson printer that uses pigmented ink which is water proof. In either case you must lightly mist the printed paper three times with a clear coat sealer before adhering to the “crock”. Otherwise the ink will smudge.
There will be instructions that come along with your decal paper but basically you want to cut out your design leaving a little edge around it. Slip it into a bowl of warm water and apply it to the canister by sliding it onto the surface.
***Alternatively you could stencil or hand paint a design for the front of the flower pot crock.
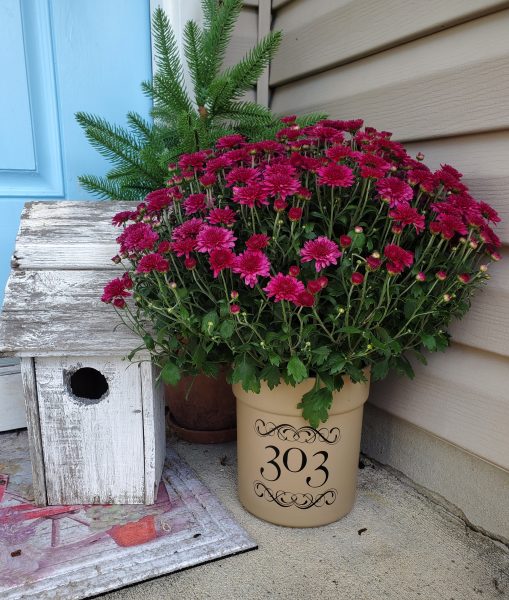
Step Four: Plant your flowers!
Now that your flower pot crock is decorated with the perfect design, it’s time to add some life to your canister! Choose your desired plants, flowers, and succulents and place them inside the pot. Make sure to use potting soil and provide proper drainage for your flowers.
If you’d like to add more decorative elements to your DIY Flower Pot Crock, you can always add rocks and stones to the bottom of the pot. This will help with drainage and add another layer of decoration. You can also add decorative ribbons and bows to the side of the pot to complete the look.
Finally, make sure your flower pot crock gets the right amount of sunlight, water, and dampness depending on the type of plants you’ve chosen. By providing proper maintenance, your flowers will thrive and last for a long time!
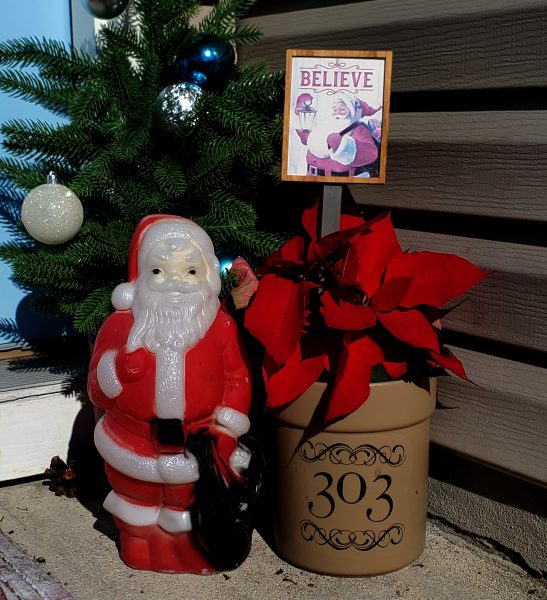
You can easily swap out the flowers according to the season. I think it looked cute with the Poinsettia at Christmas!
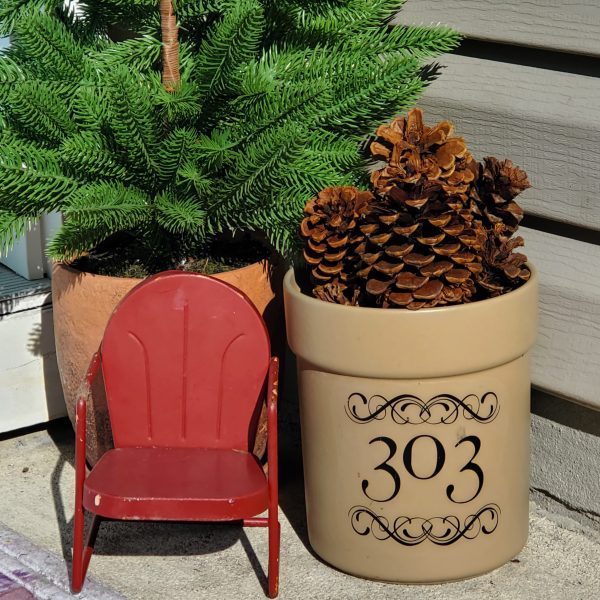
In the dead of winter I filled it with pinecones for a seasonal look.
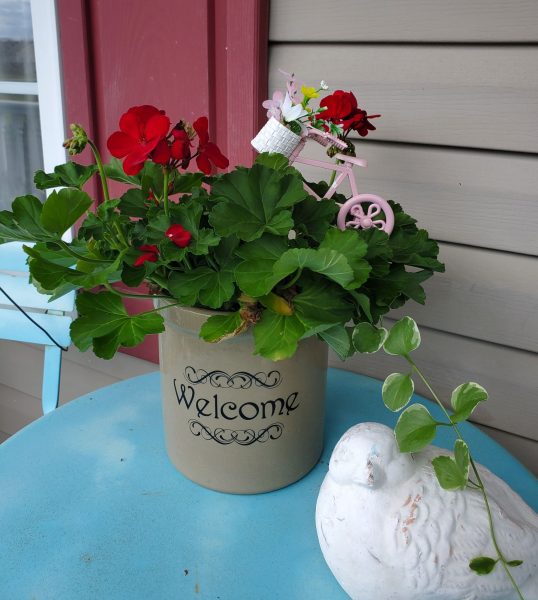
Ok. Here is another flower pot crock I customized. I thrifted this authentic ceramic crock from a local consignment store for $8. I created a similar decal for the front but this time I used the word “Welcome” to greet guests as they step onto my front porch.
Now Make Your Own Custom Flower Pot Crock!
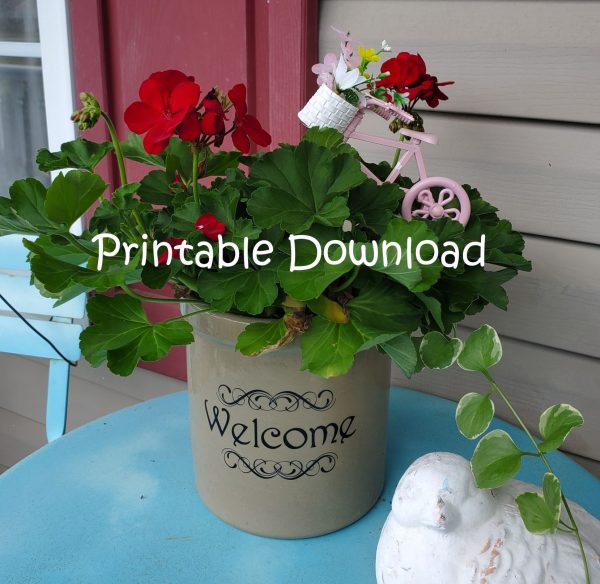
If you would like to make your own custom crock you can find the printable design available for purchase here. You will receive both the “Welcome” scrollwork design and one featuring just the scrollwork with a space in between to add your own text.

Congratulations, you have successfully created a beautiful flower pot crock from an old ceramic canister! You have created something unique for yourself to display or give as a gift. DIY projects are fun, and it is rewarding to create something beautiful and useful from scratch.
Remember to give this project your creativity and have fun. There is no need to follow the same design as used in today’s tutorial. You can let your imagination take over and come up with a completely new design.
If you want to go a step further and make other canister projects, you can use this same decorating technique. The possibilities are endless! Enjoy your new flower pot crock, and happy crafting!
~Lisa
Leave a Reply